PRE -INDUSTRIAL FINISHING The Tools and Their Use - with Brien Beidler July 14 -15, 2018

Ruth Scott Blackson with contributions from Tara O’Brien

 As soon as the tool making and gold finishing workshop taught by Brien Beidler was announced I jumped at the chance to take this class. I work freelance as a bookbinder and book restorer and although I do a great deal of hot stamping, making my own gold tools and using genuine gold leaf to tool a book does not come under my radar, (or to be more precise - I lack the knowledge/ experience, and tools). I follow Brien's Instagram page and am familiar with his work and tool - making prowess so was more than eager to take this class.

From the 'get go' it was apparent that this class was going to be an interesting one.  As with all classes run by the Delaware Valley Chapter Guild of Book workers, (DVC) everybody goes around to introduce themselves. Name, background, interests etc., however Brien threw into the mix - 'What is your favorite sandwich?'. It sounds like a peculiar question/ way to introduce oneself but it instantly made everyone feel relaxed within the group - good call Brien!!!

Once introductions were out of the way Brien got down to business - the 2-day workshop would be split into two parts - day 1 involved making the tools and day 2 - doing the actual gold tooling with our tools with gold leaf onto leather.

 Day 1 Making the Tools

Brien told the class that he first got into making tools when he met Jim Croft, (a Medieval bookbinder and papermaker who is well know for making tools). Meeting Jim 'blew his mind' said Brien - and was the inspiration to begin making his own tools.  He has also received a lot of support from fellow toolmaker, Shanna Leino.  

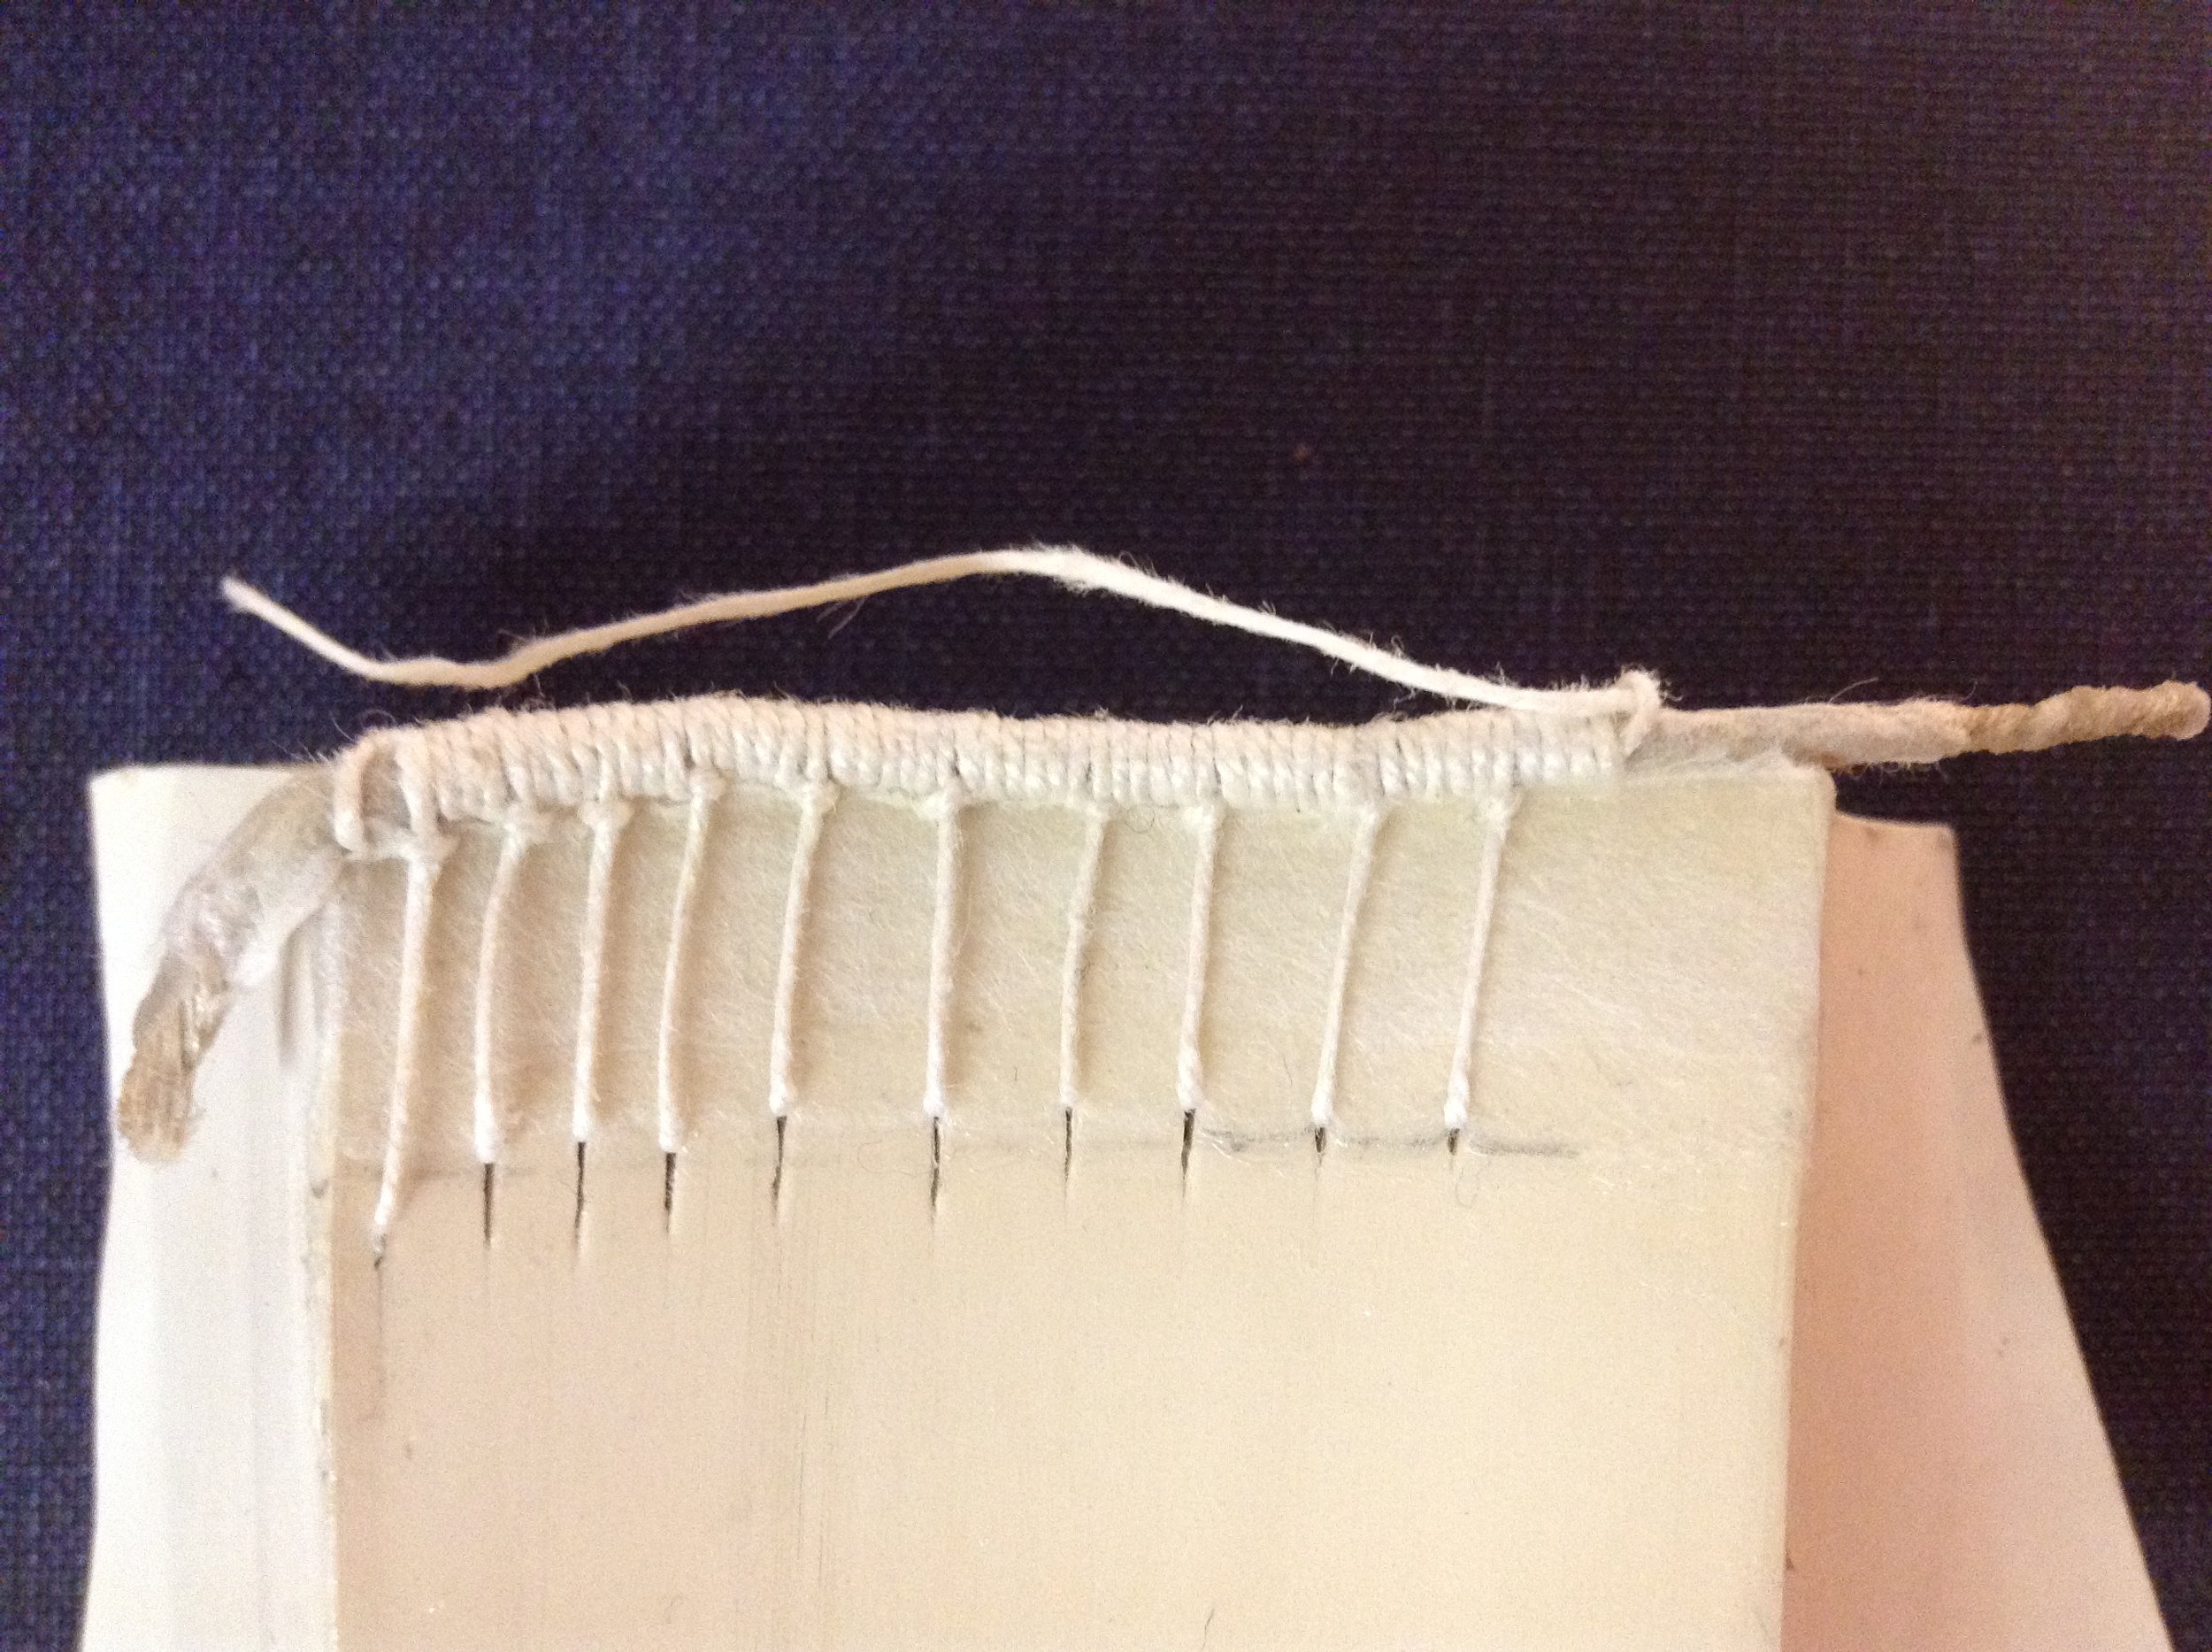
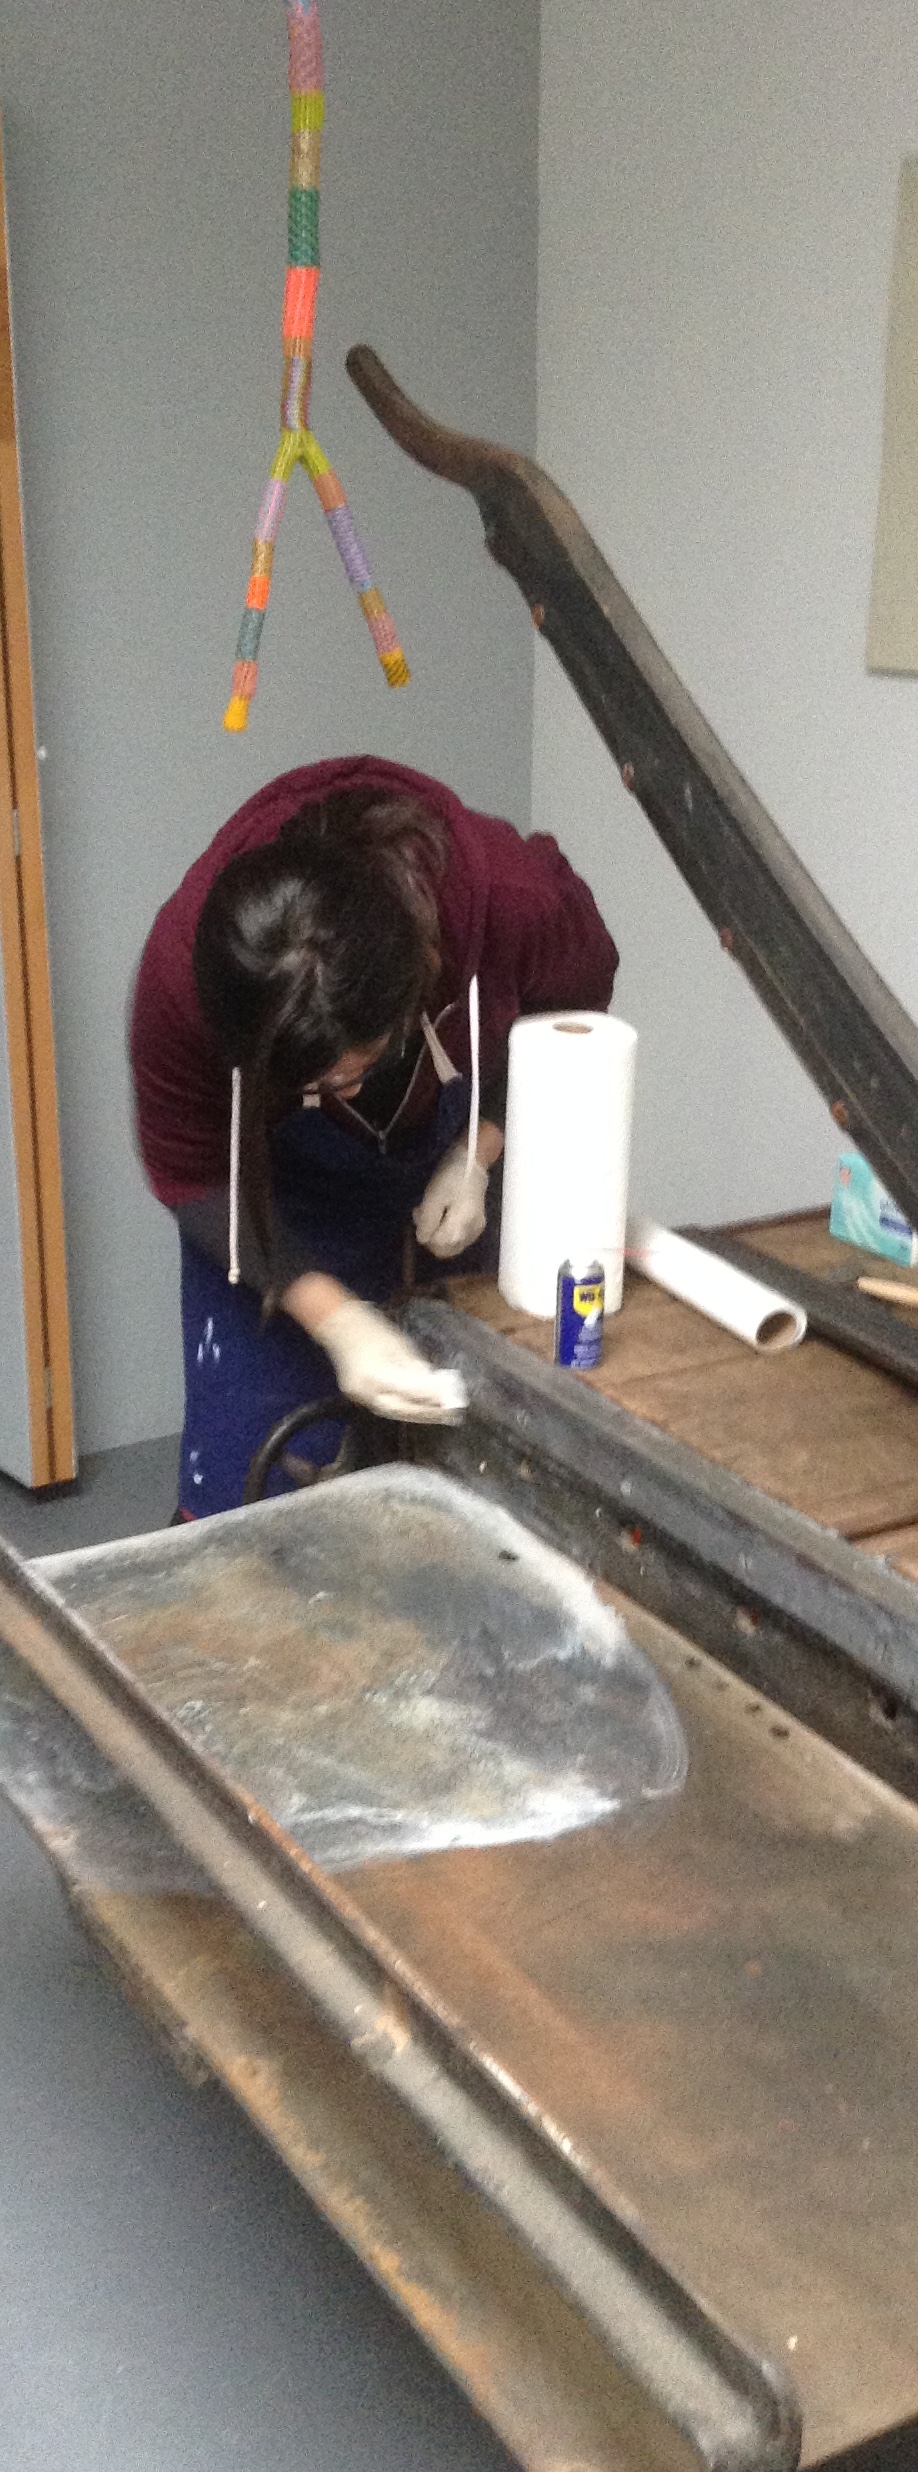
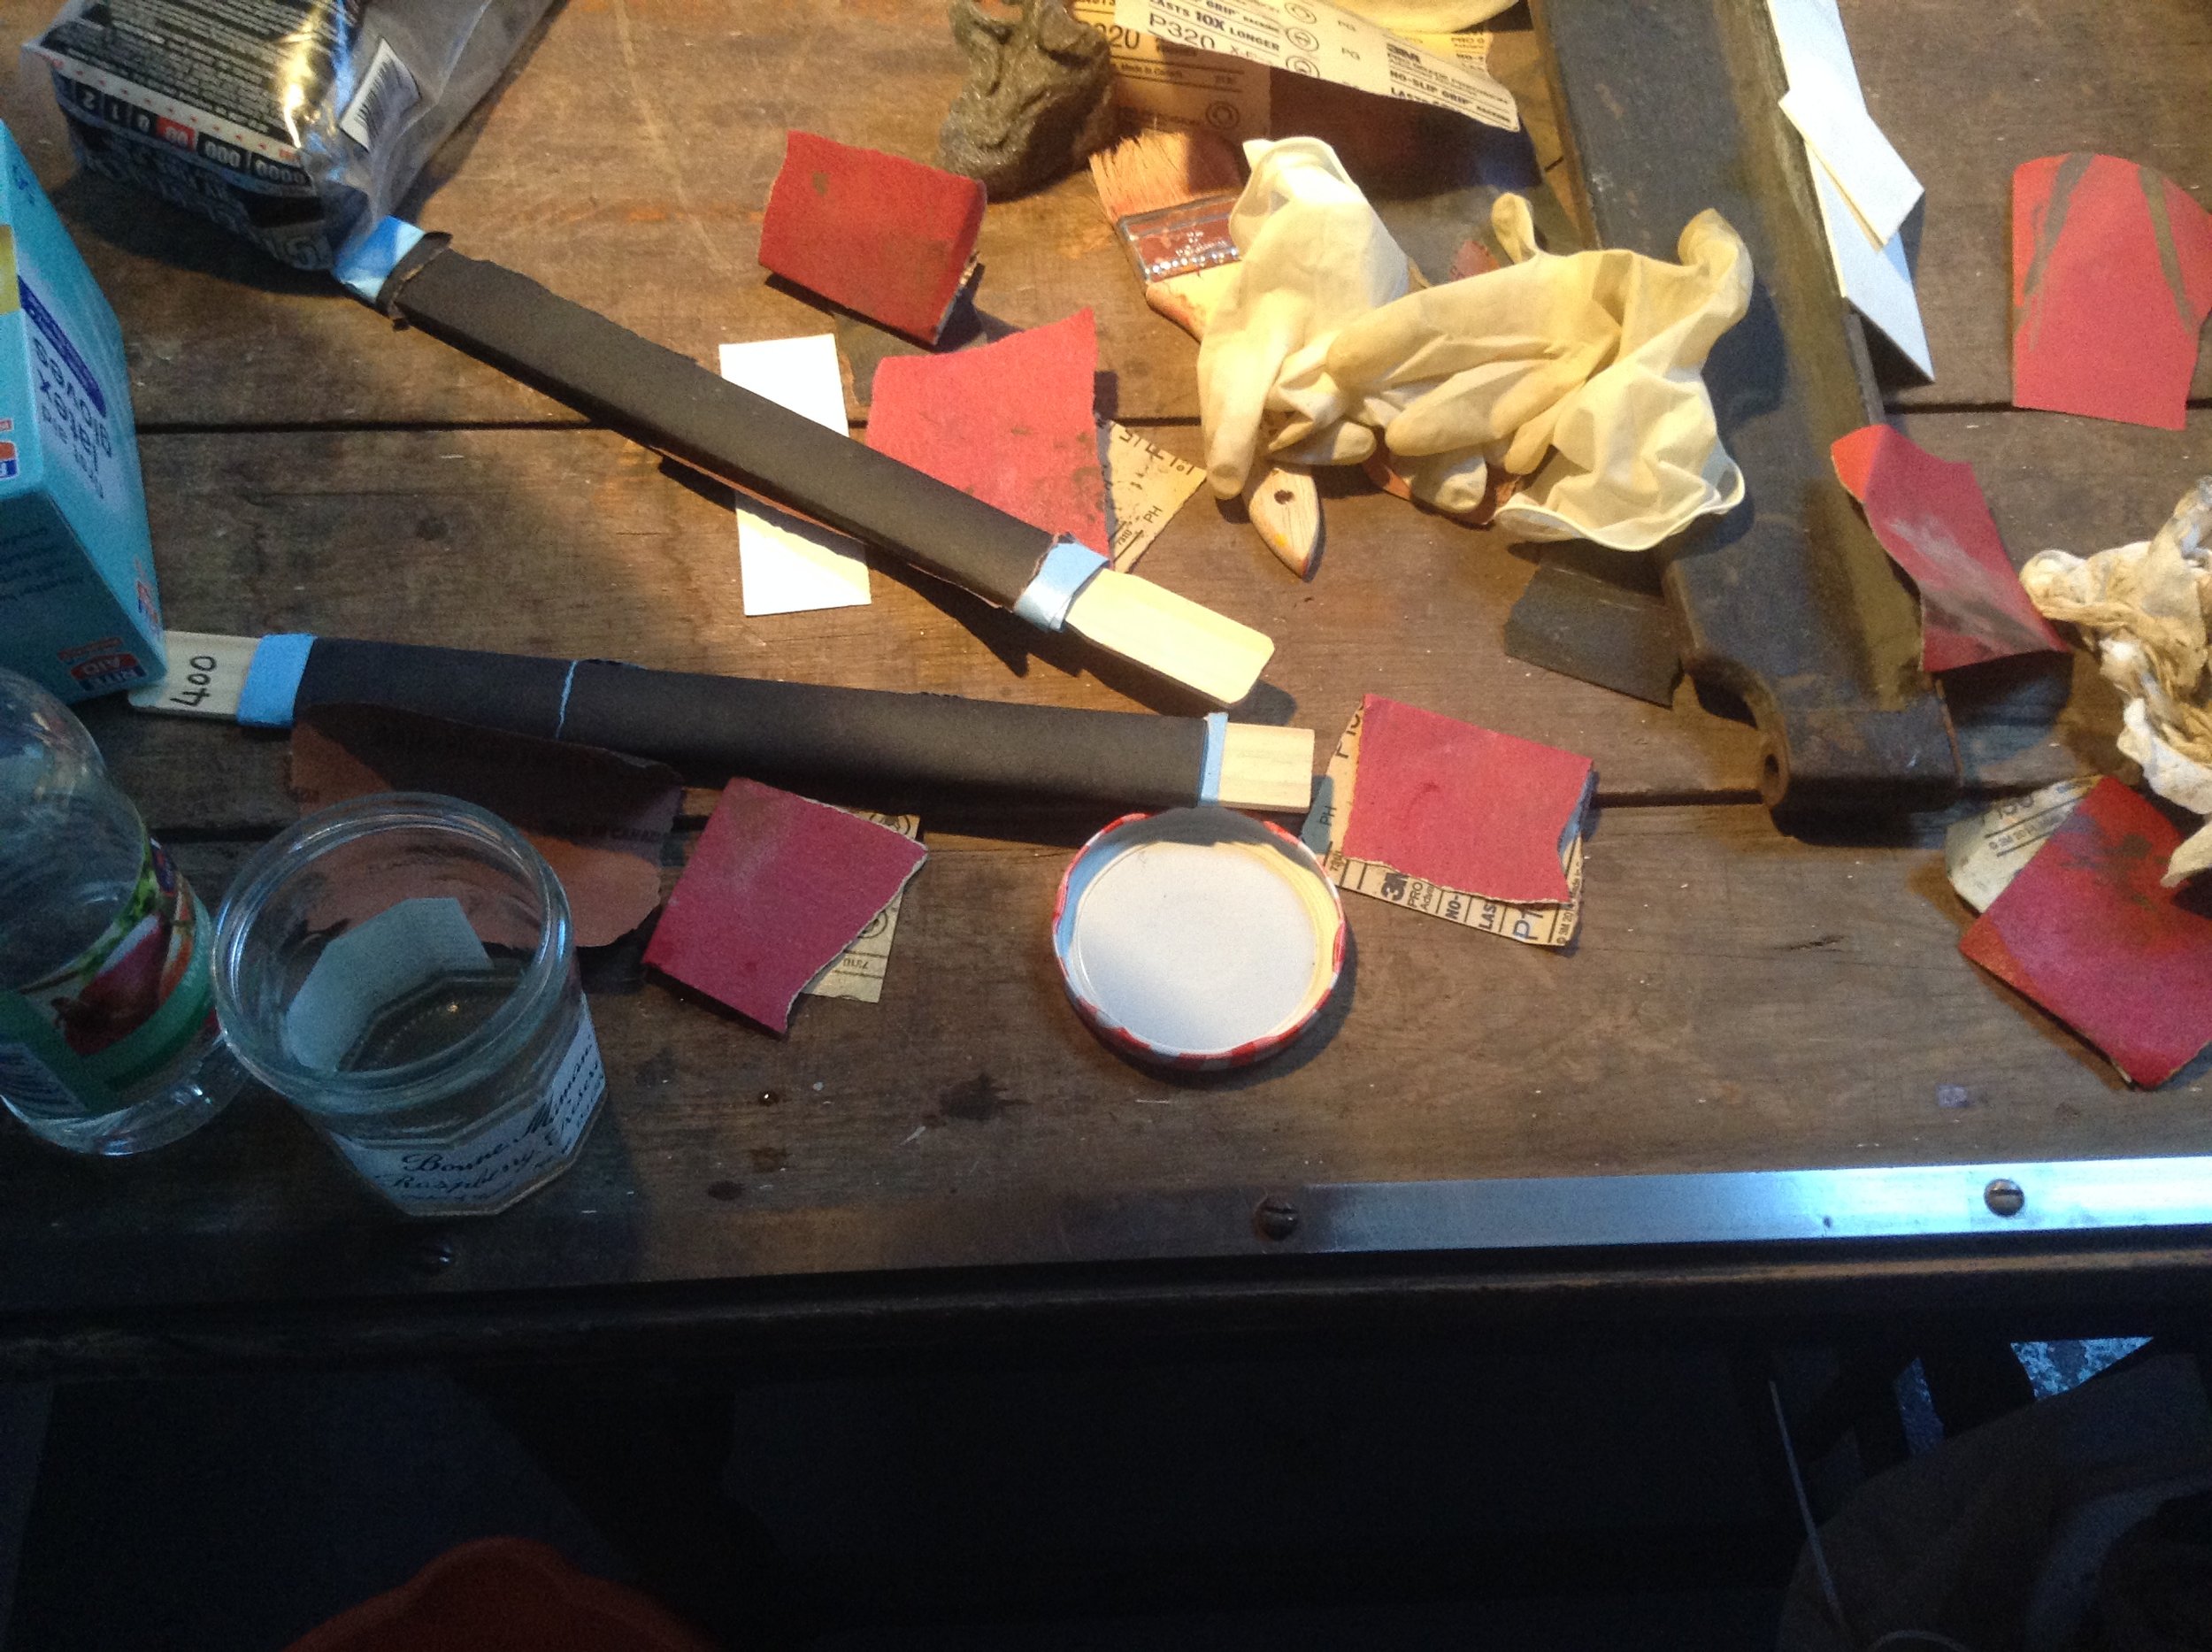
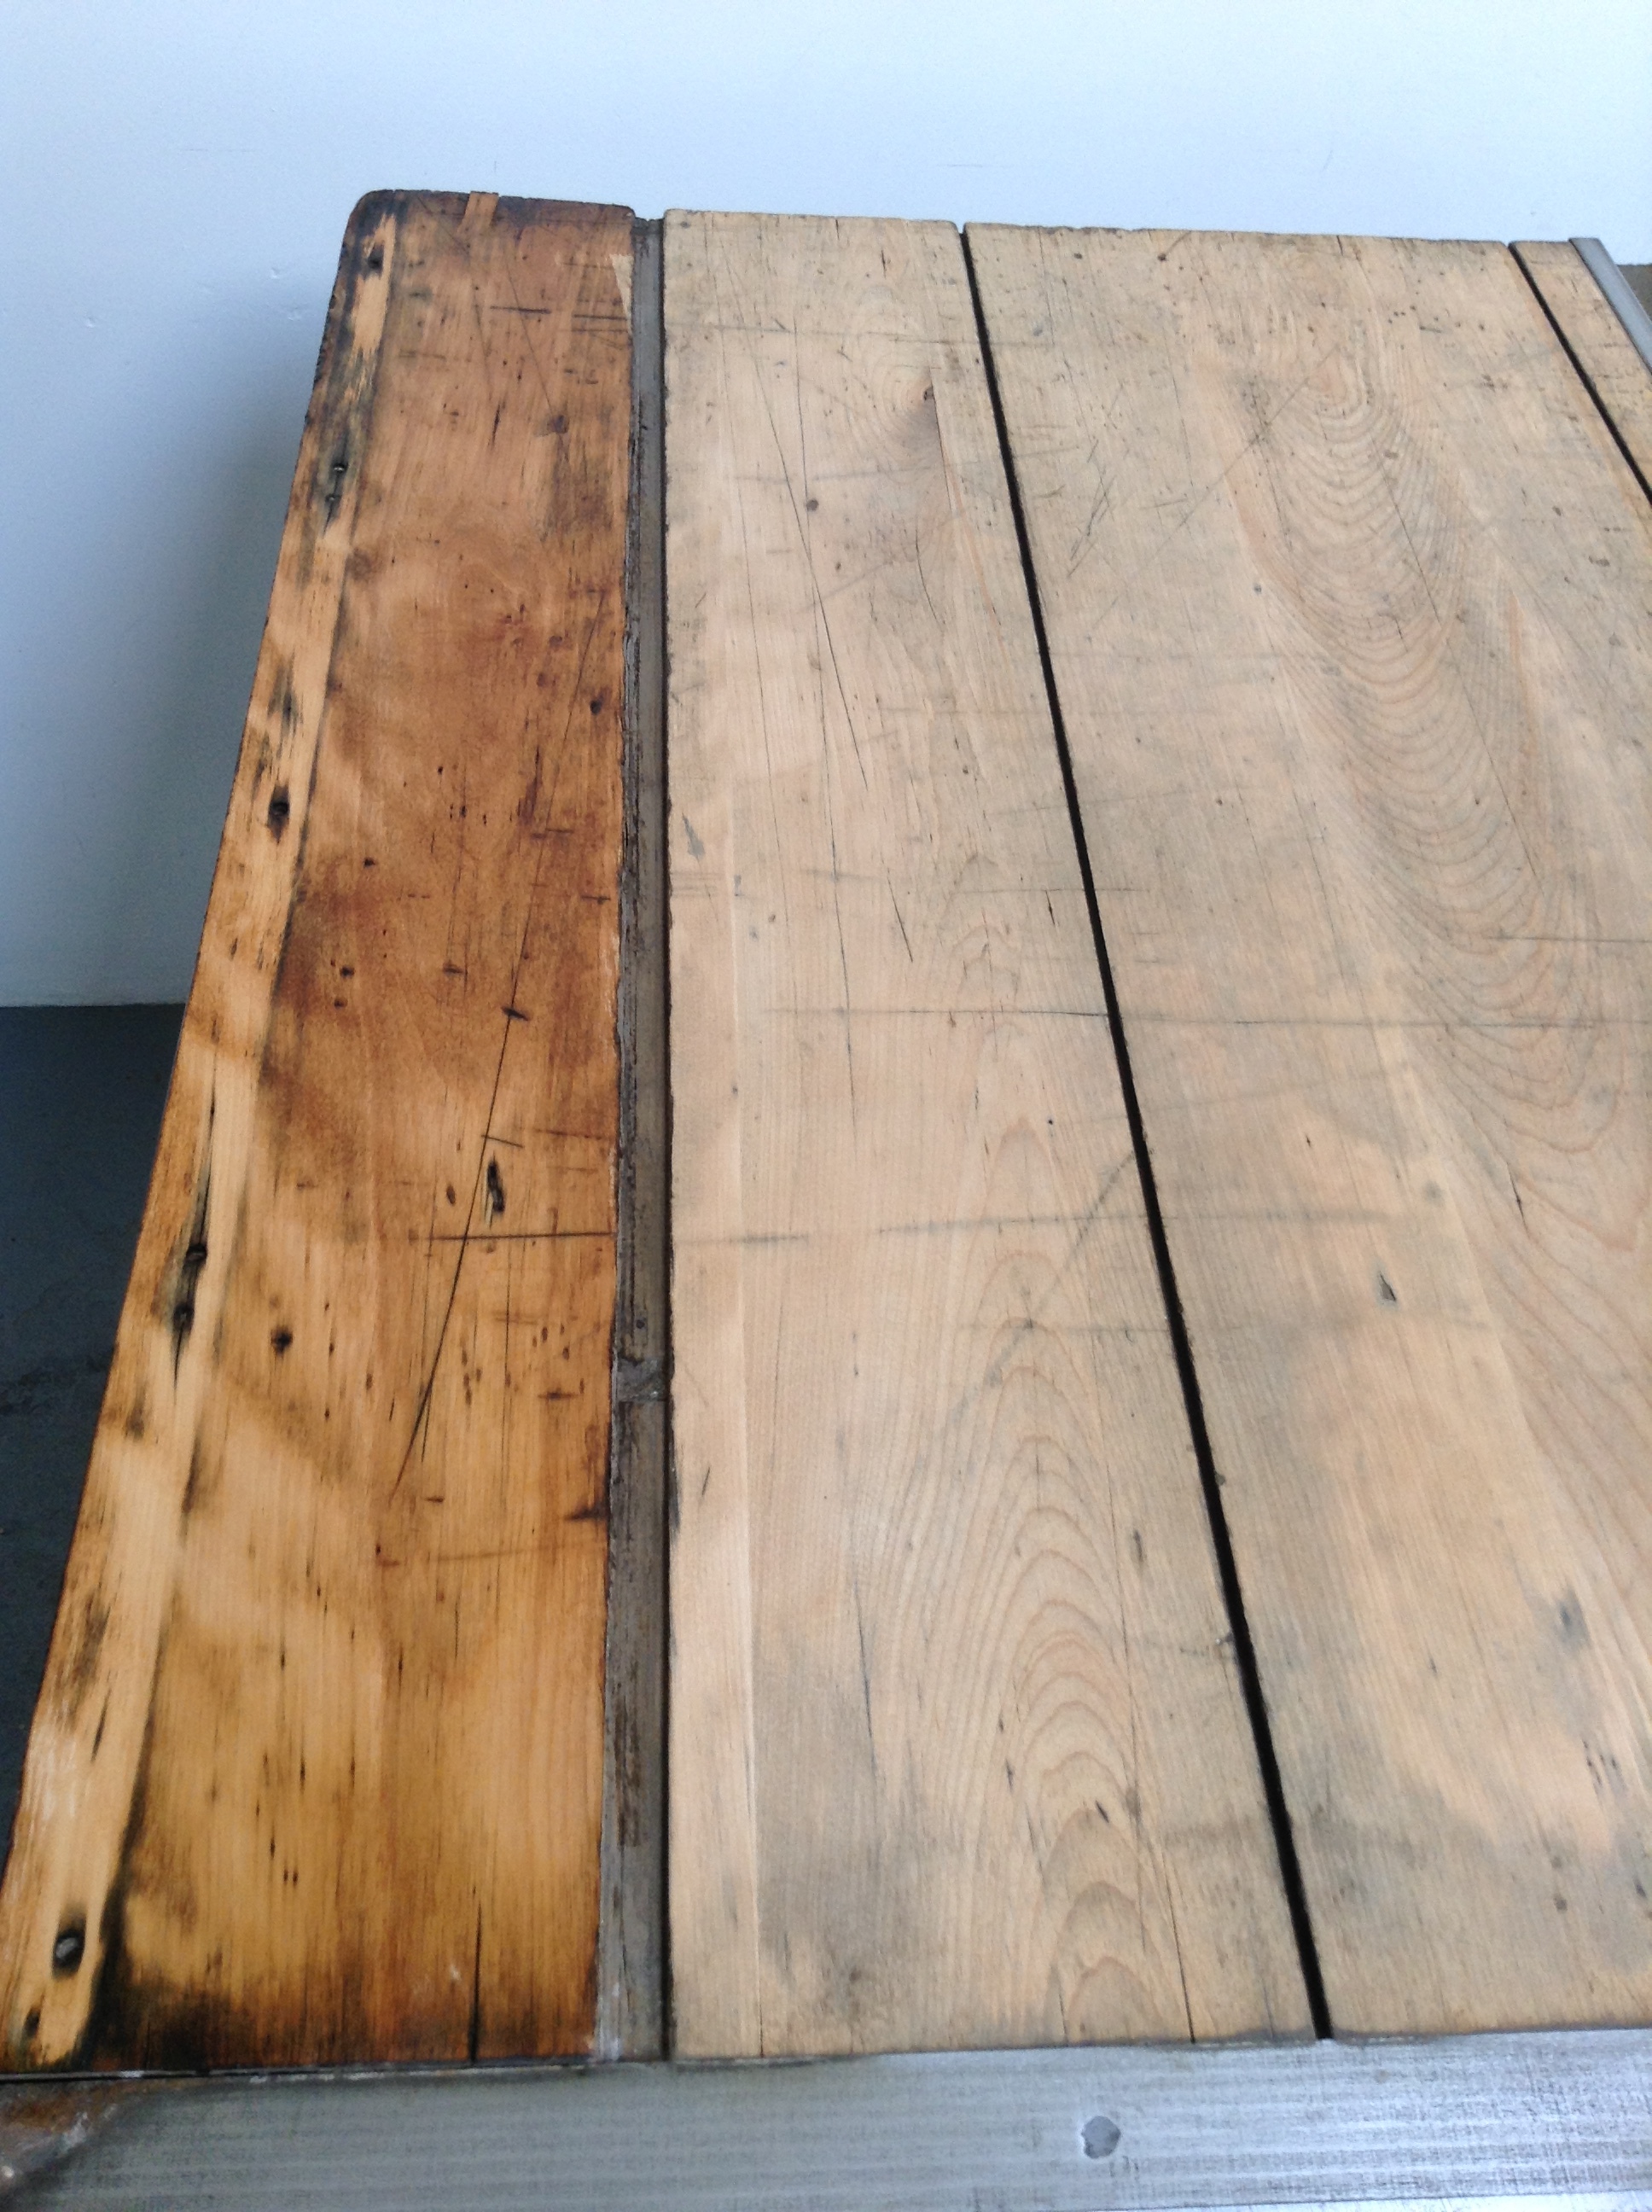
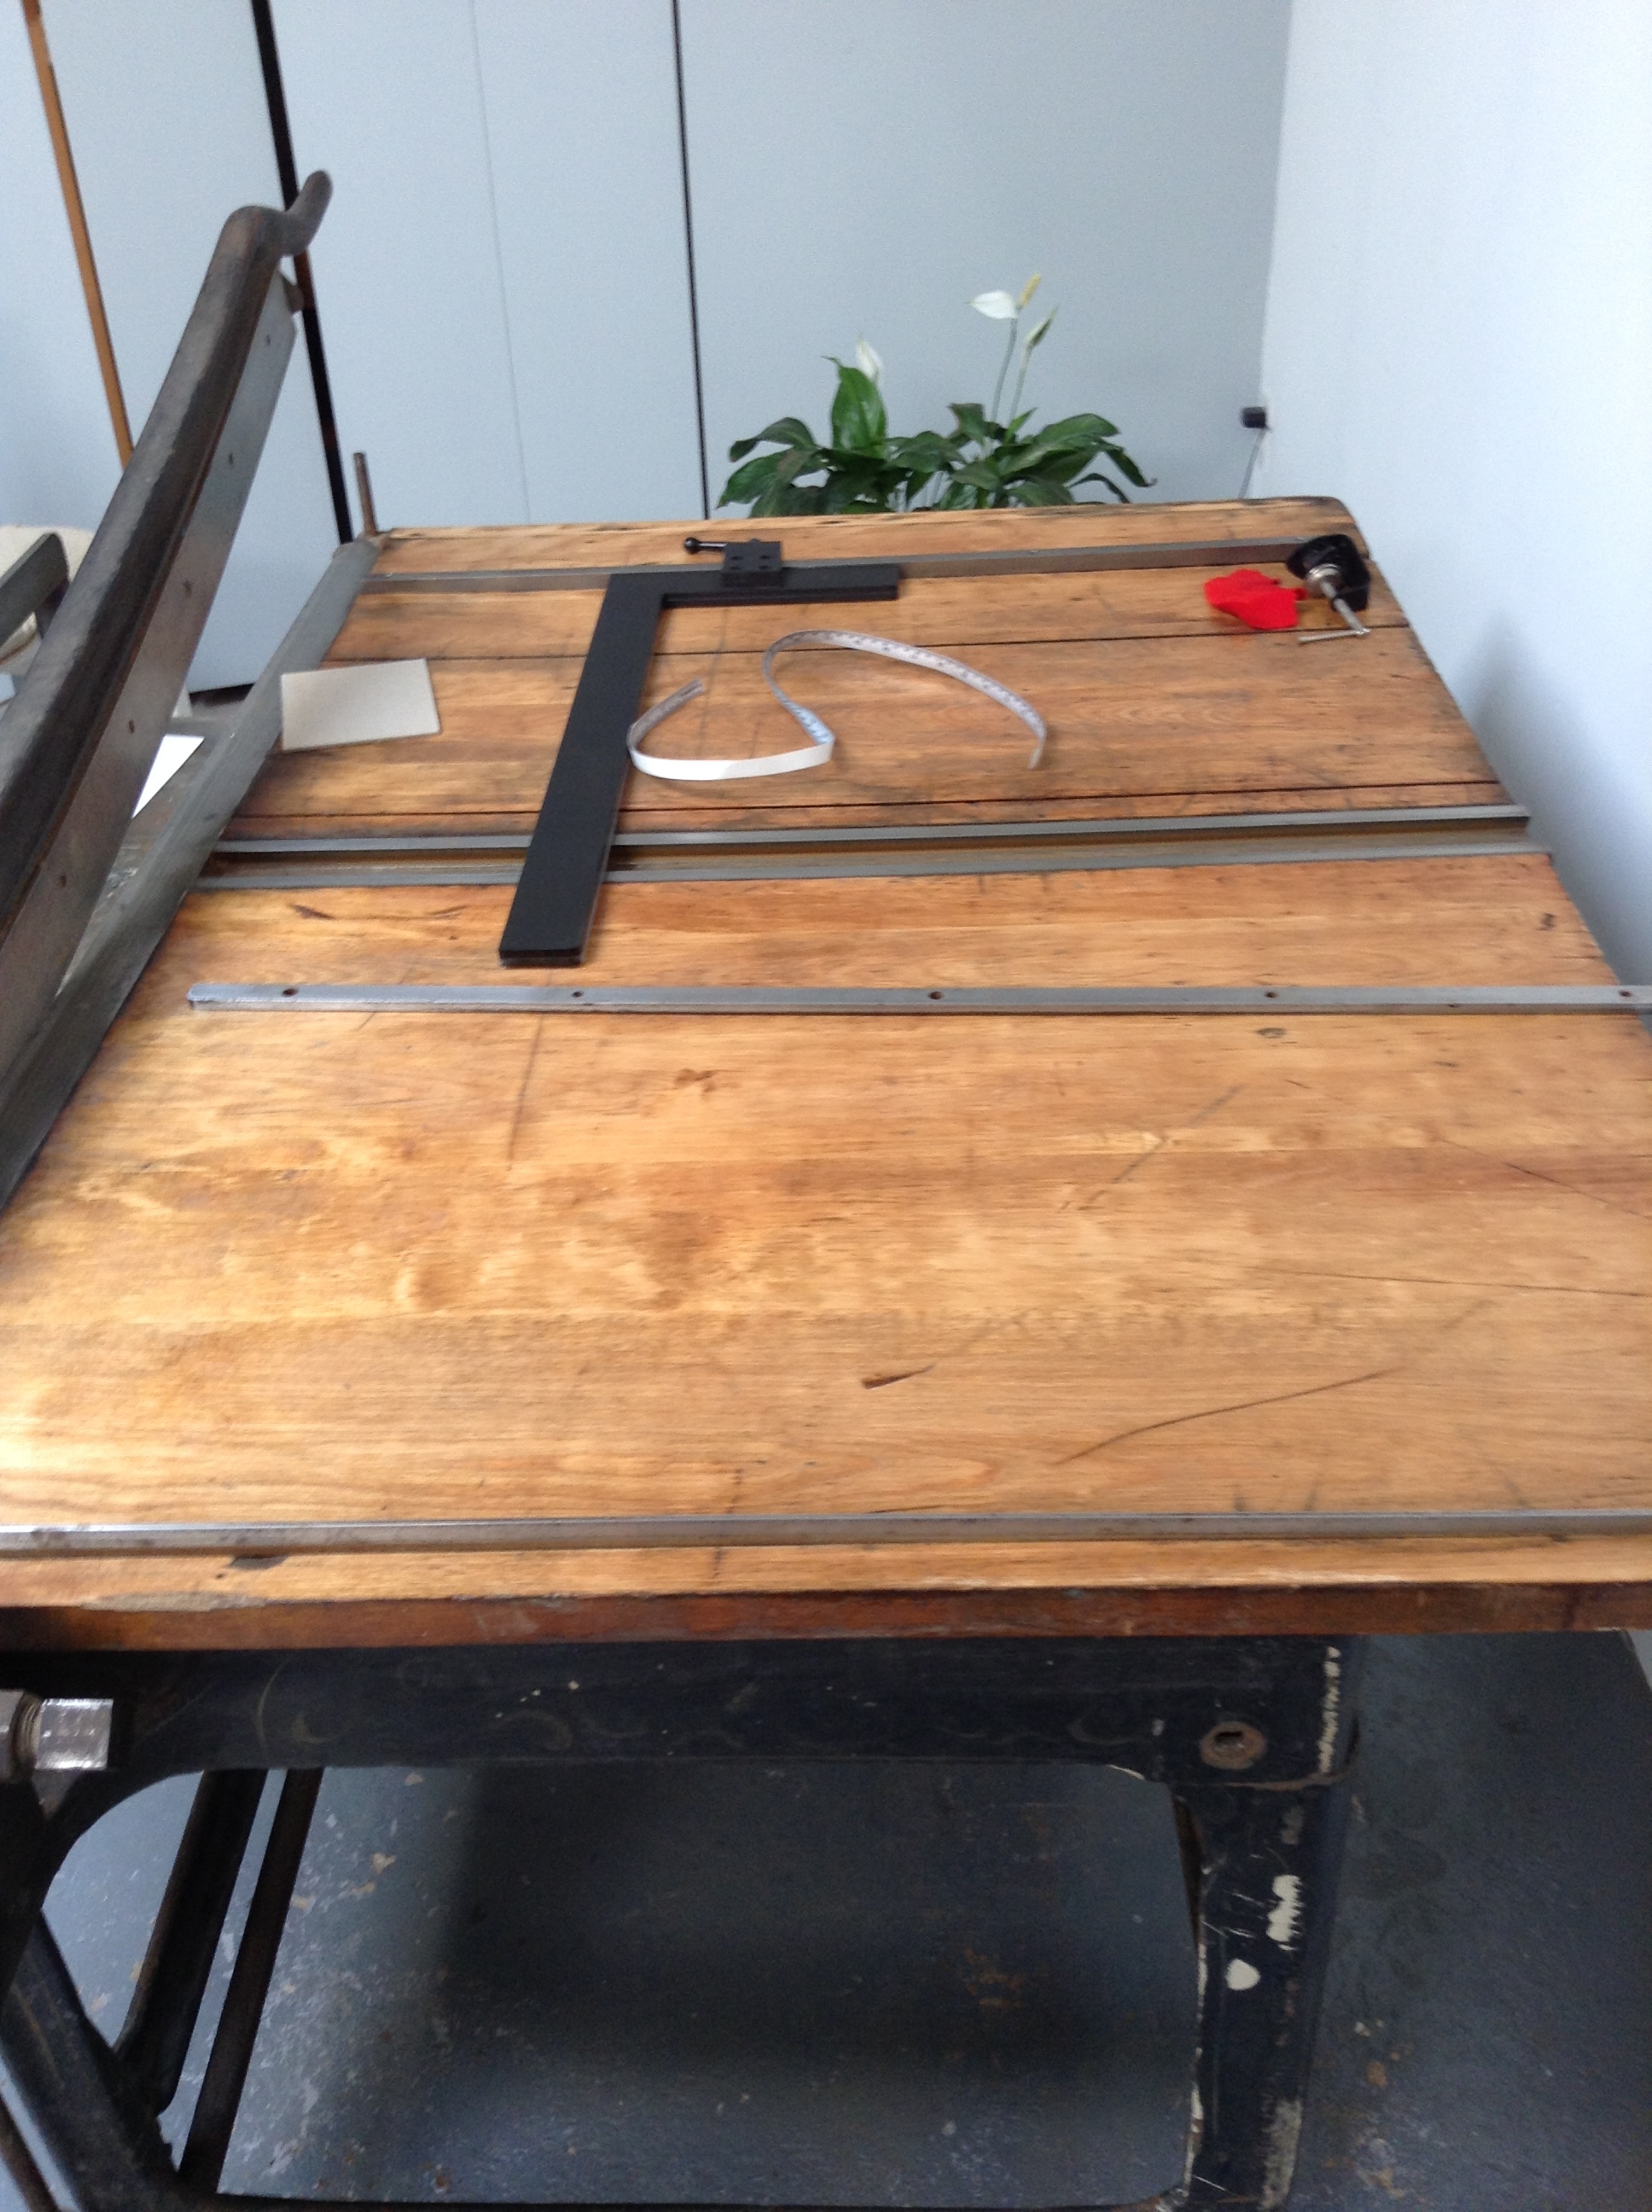
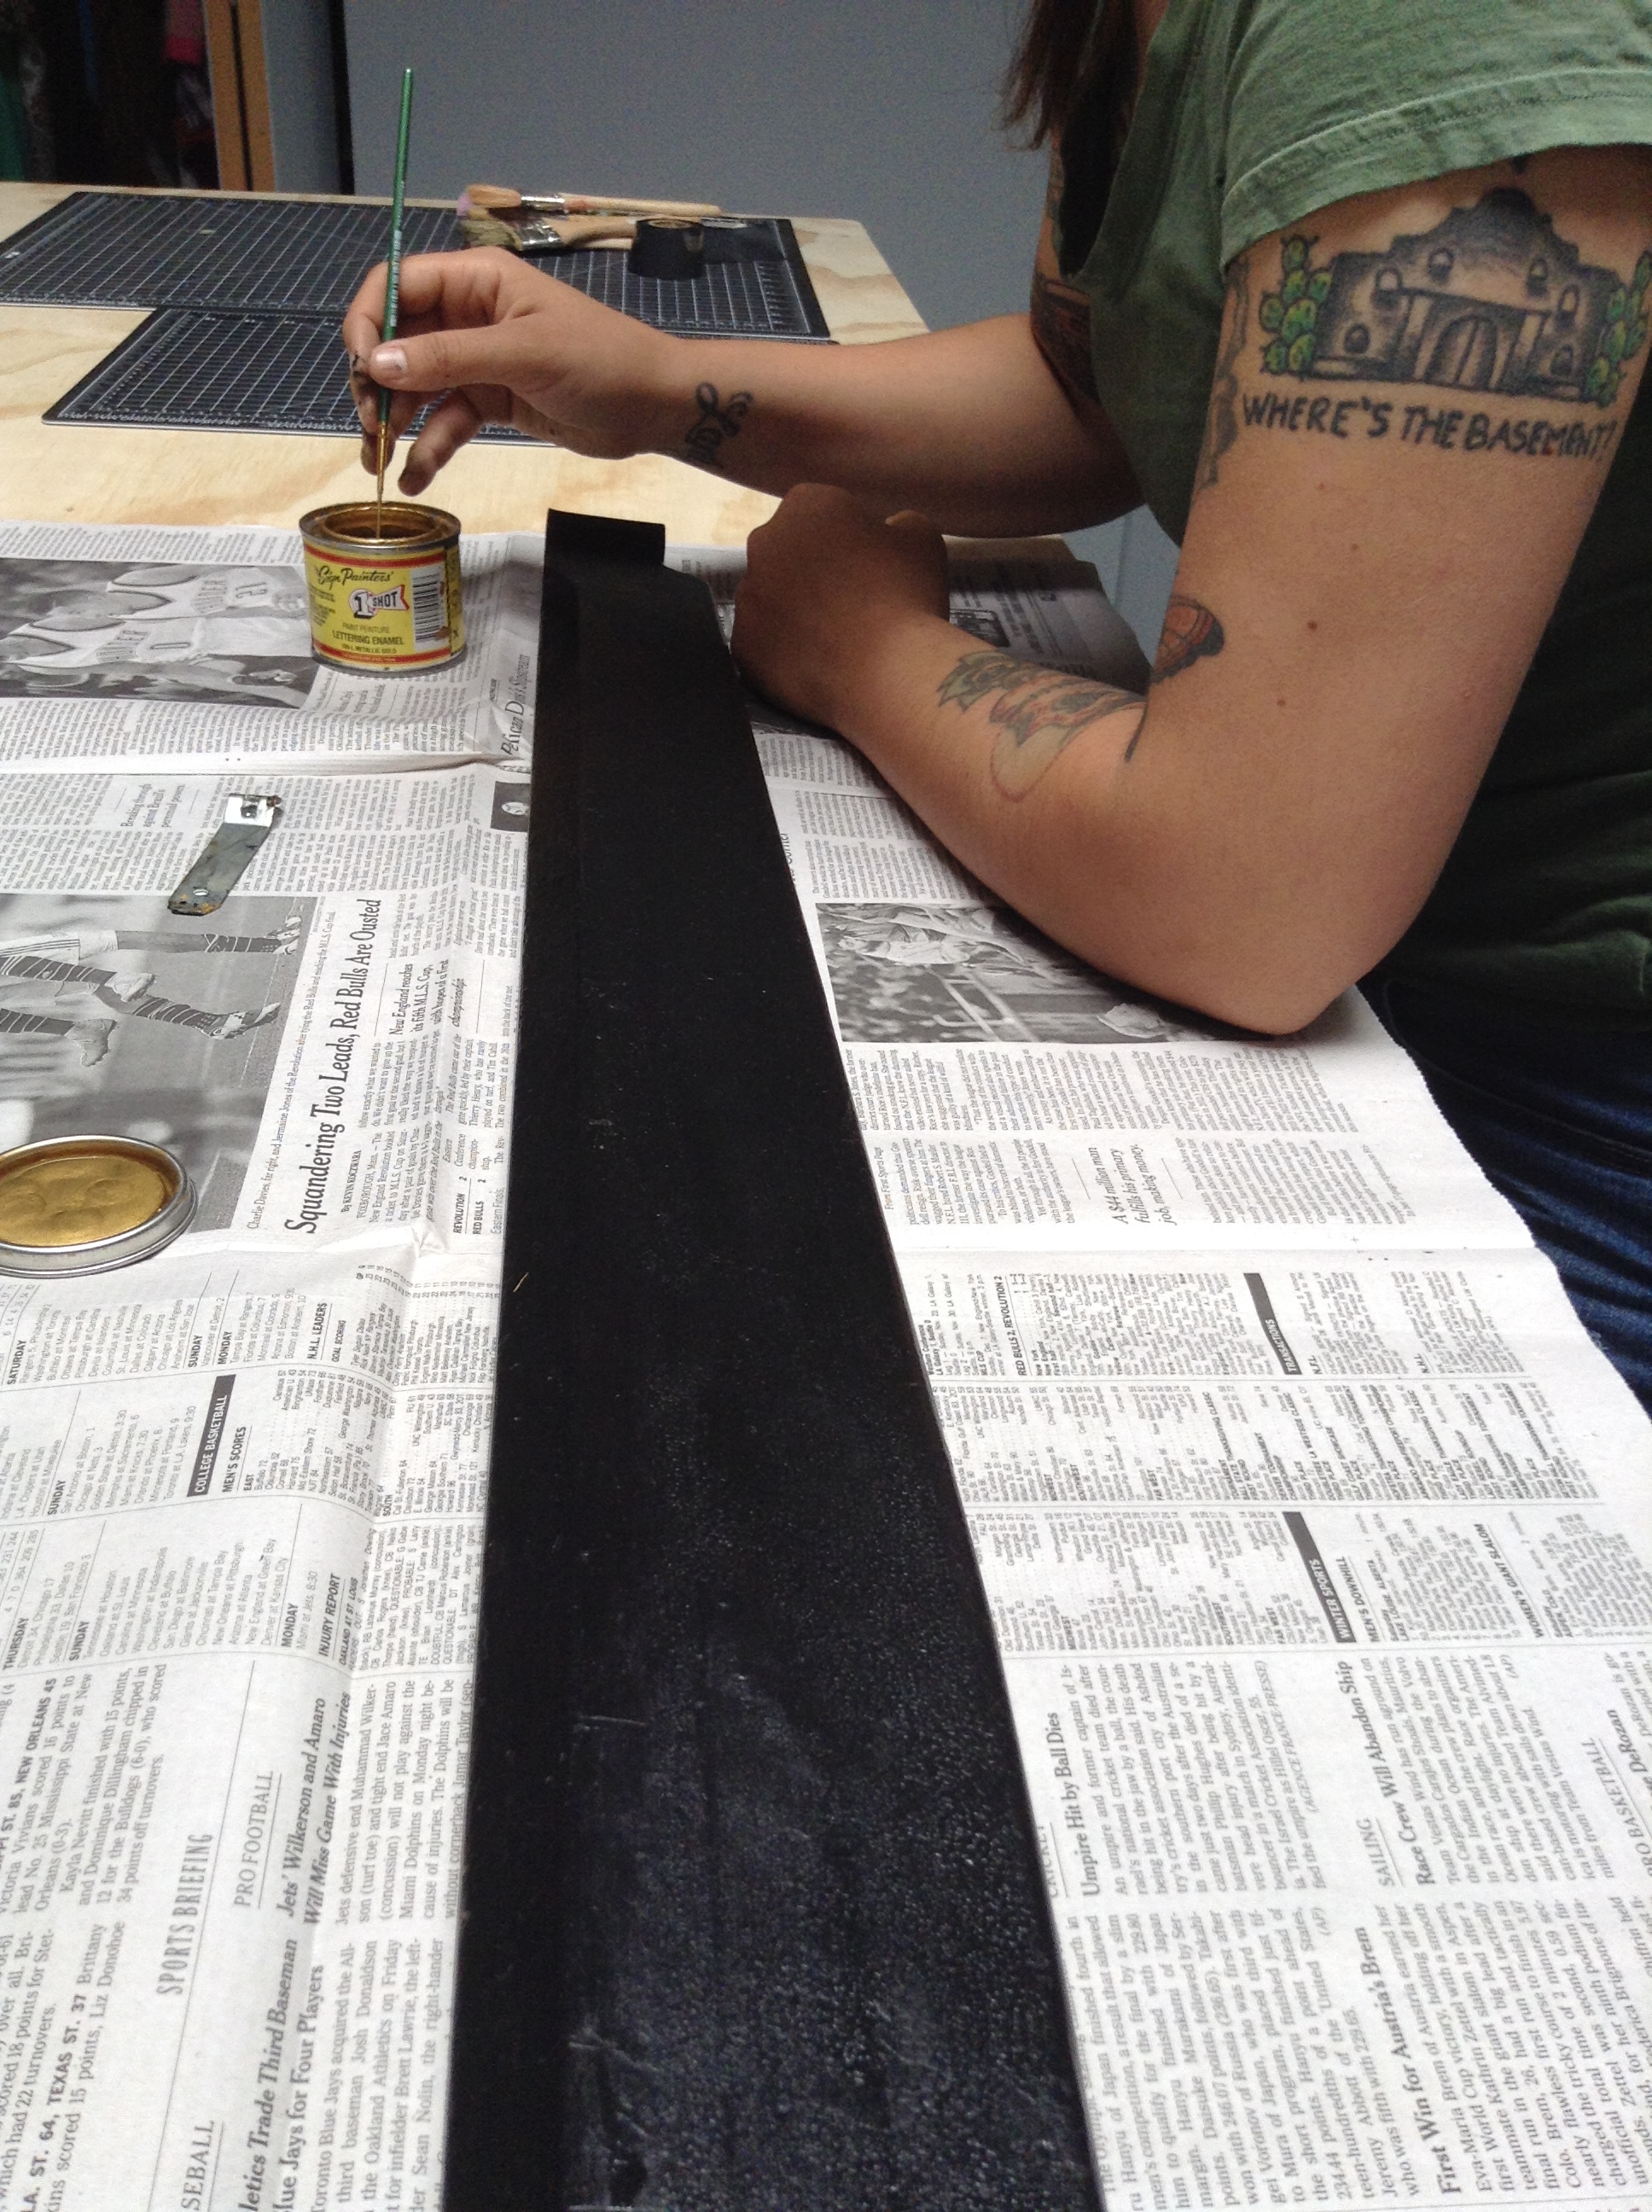
 To begin everybody in the class needed to make wooden handles for their tools - this process involved drilling the dowel and then soaking it in water for a number of hours. The hole we all drilled (using hand drills) was slightly smaller than our piece of square stock brass that would go into the hole. The brass stock we used was 1/4" and cut to 3" in length. The next step was to shape the shank of our brass stock which involved holding the brass stock into the vice and using a coarse file tapering the piece of stock. This was a pretty physical process and many of us were fighting with our vices however the aim was to sand all four sides of the stock to obtain a gentle taper all the way down. Once this was achieved on the thicker end of the stock we were to shape and polish it so that the end resembled a perfect dome shape using various sandpaper grits. This dome shape is where the design goes.

 Next - the fun bit where we got to figure out our designs. I decided to design a tool impression with a simple diamond and also a square shape with lines going horizontal and vertical. Workshop participants came up with some really beautiful but simple designs using a range of tools to get the desired effect. Some would use sanding and filing, while with more linear designs a jewelers saw was required. Meanwhile if a design was to be circular then a hole punch and hand drill was used to achieve the shape.

 For the final part of day 1 Brien demonstrated making egg glair, which is used as an adhesive for gilding - day 2 would involve gilding the leather with gold leaf with the tools we made. I had come across synthetic glair but had never attempted to make this myself.  To make the glair Brien used 1 egg white, and then half a shell for the rest of the measurements. This included 1 x 1/2 shell of white vinegar/ 1x 1/2 shell of water, and a few drops of milk or half and half- the protein in the milk helps the glair not to froth. Next - vigorously whisk the mixture, strain through a window mesh, and let sit overnight. I asked Brien how long the glair lasts (expecting him to say - a few weeks), however he mentioned that he has some in his fridge that he made in September and it is still good. He mentioned that the acidic vinegar acts as a preservative. Brien much prefers this process over using the synthetic glair, for one it is cheaper, and he likes to stay true to the historic hand-made process. I was definitely persuaded to use this method in the future.

 Day 2

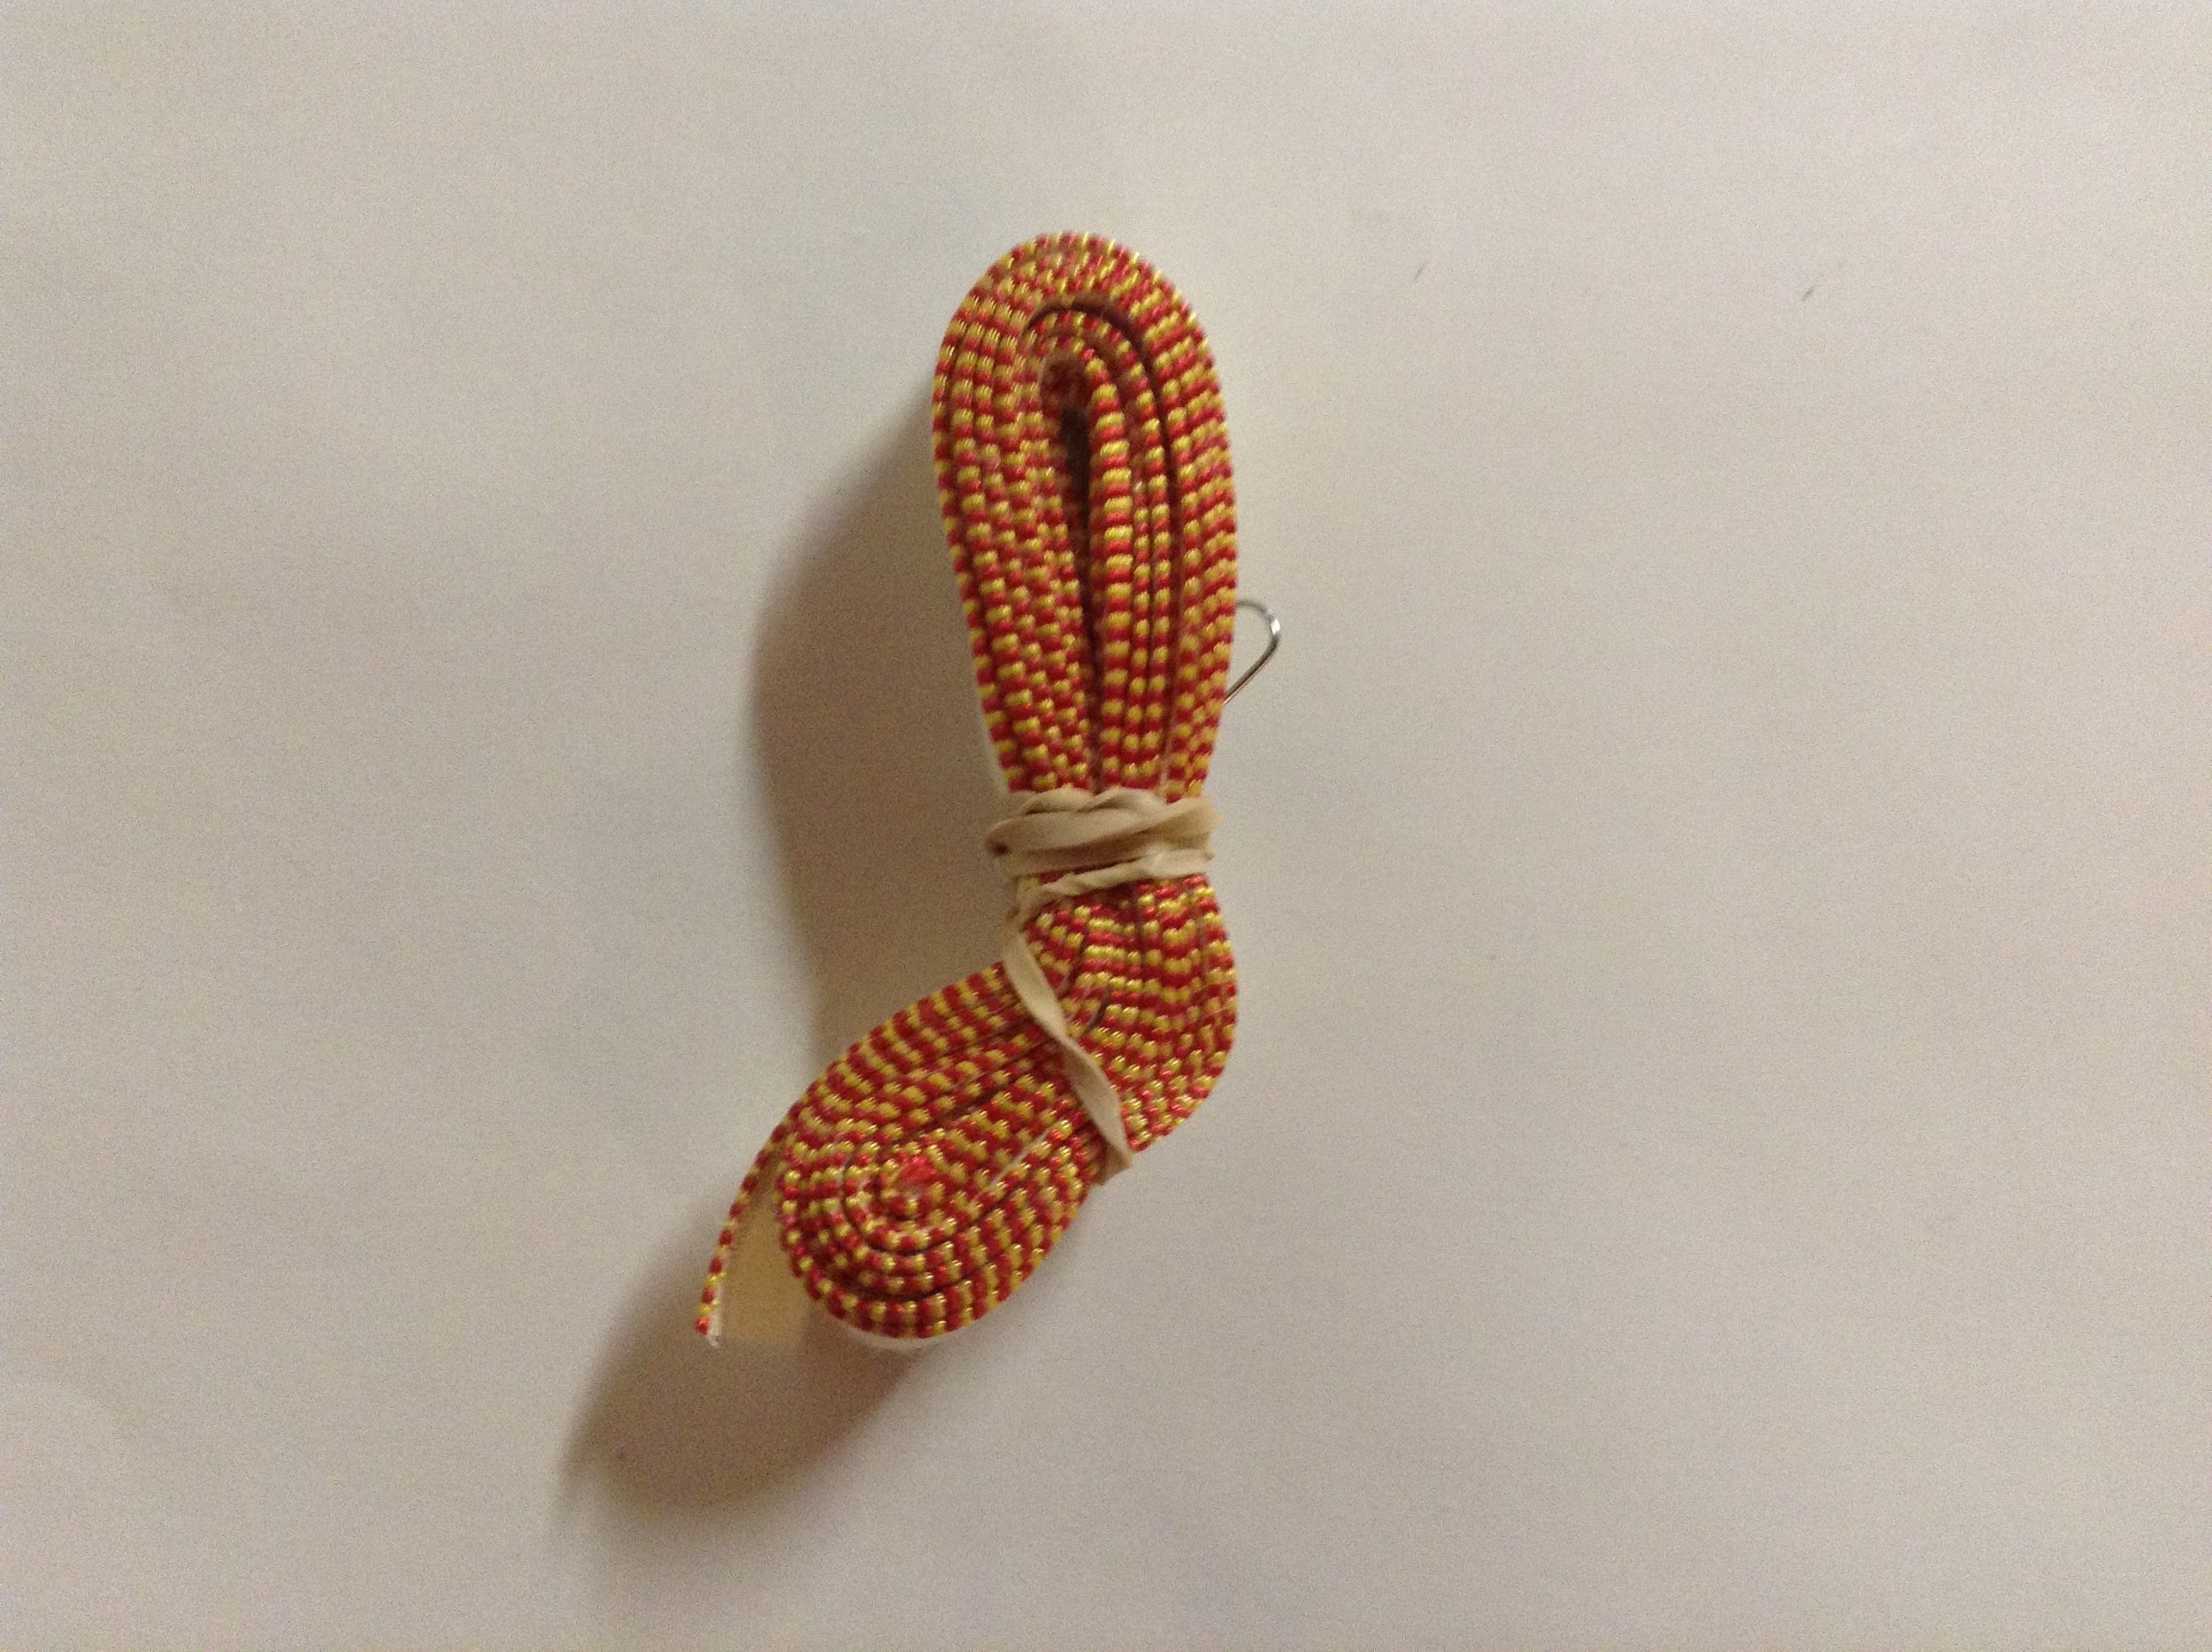
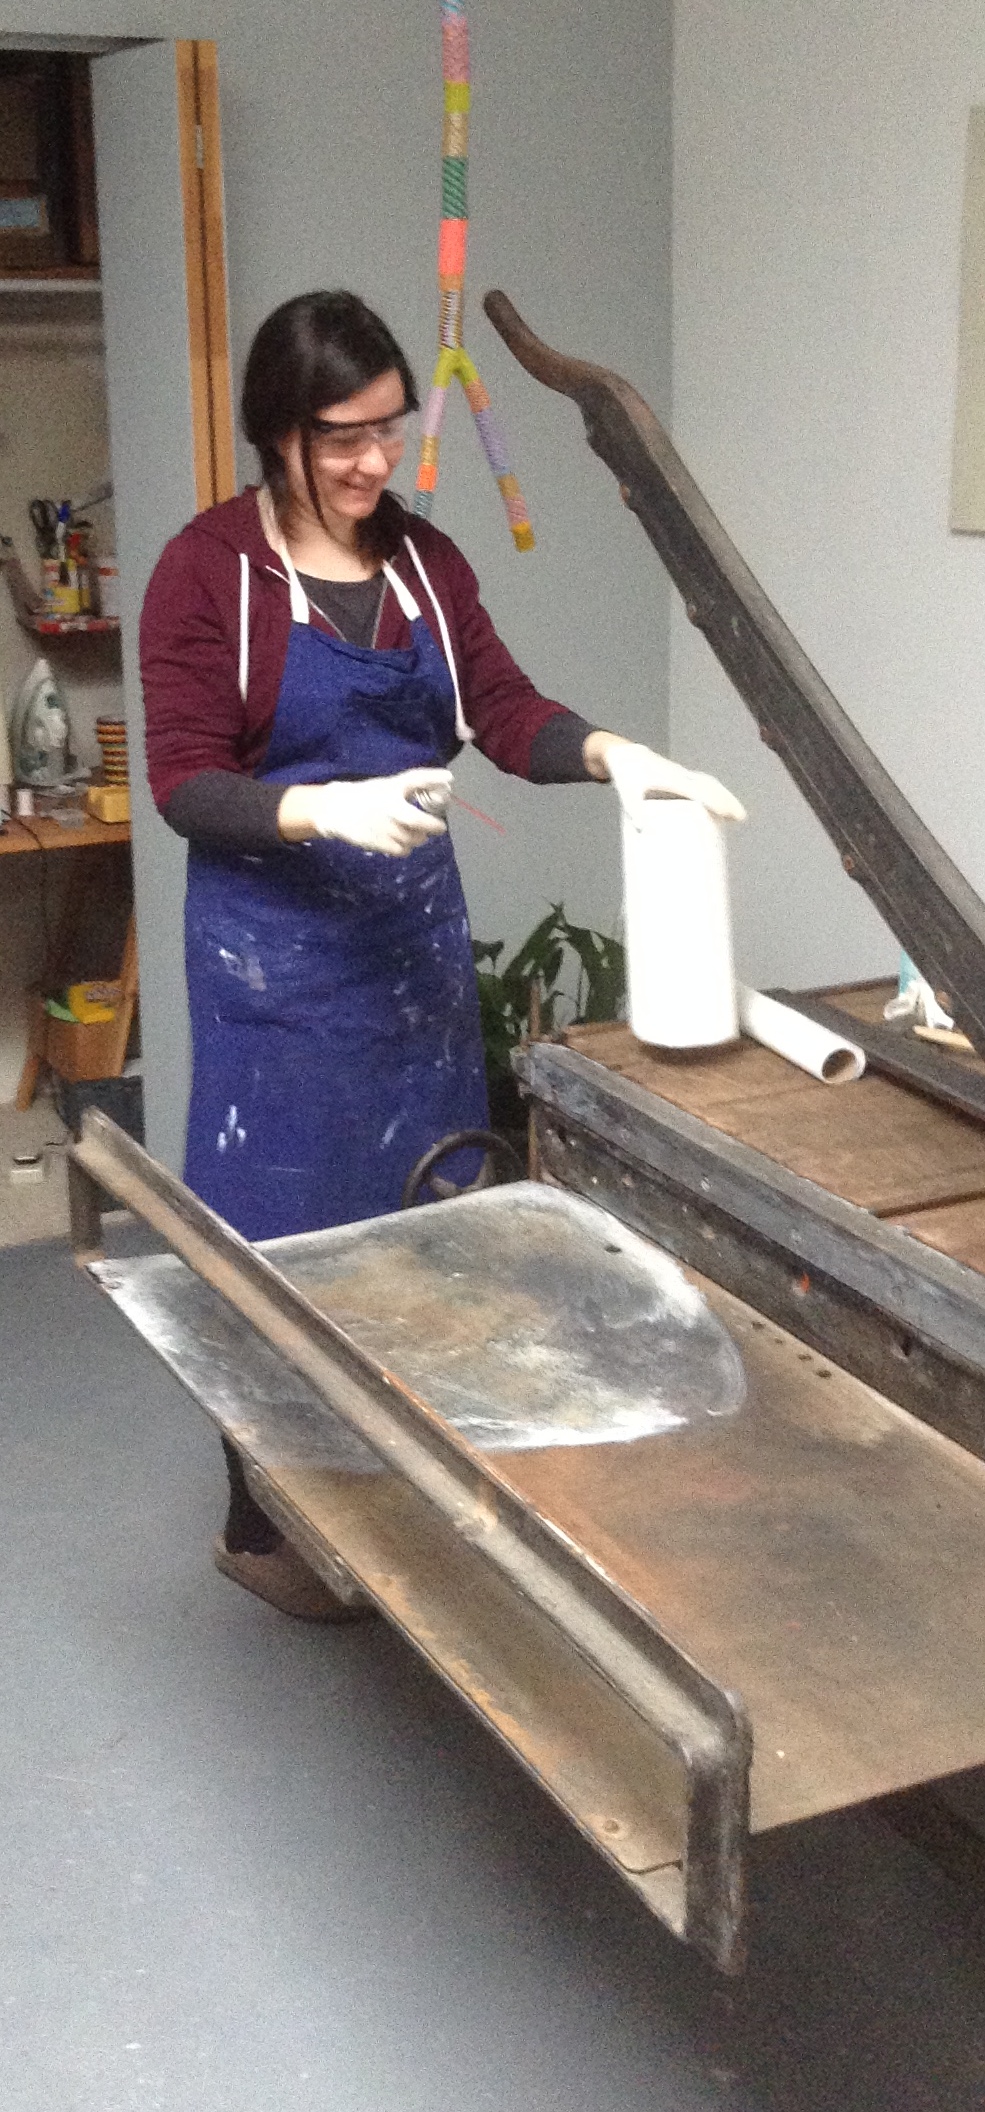
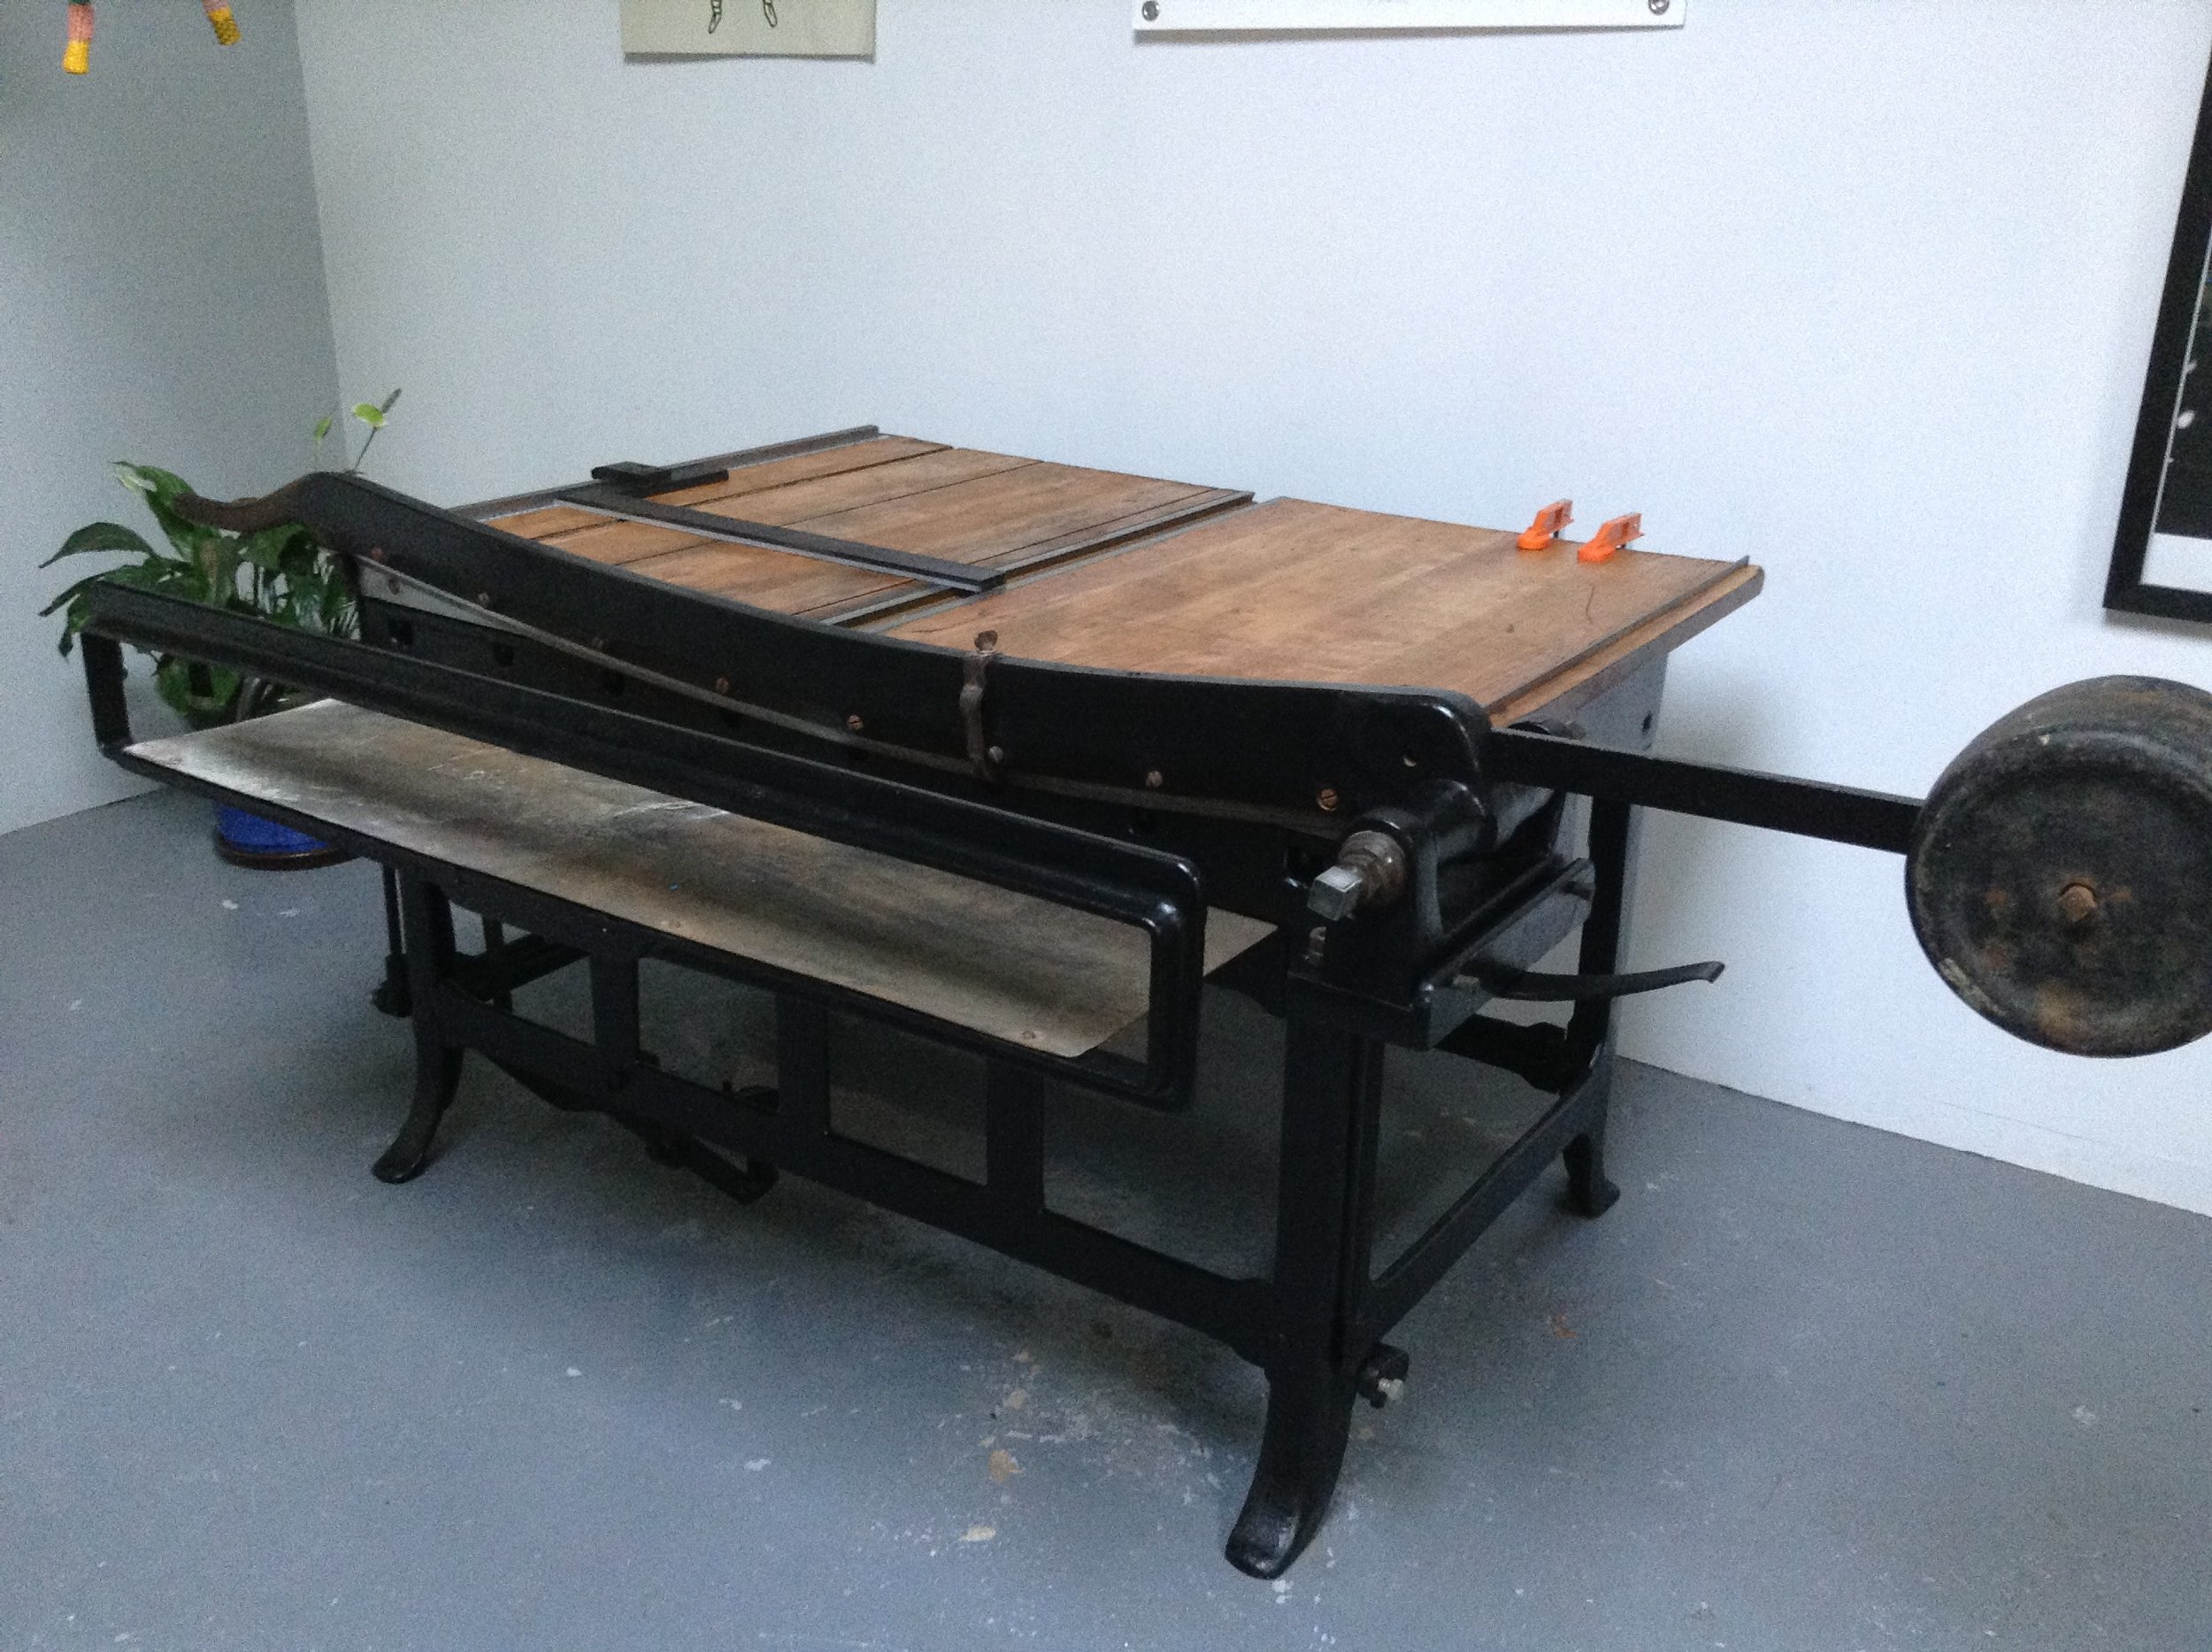
After the previous day of tool making – the group was raring to go for the next part of this workshop – the GOLD. For the trade-style gold tooling Brien supplies us with gold leaf, cotton balls, paste wash, glair (that he made the previous day), Vaseline, gold rubber, lighter fluid, and water. We also needed a gilding pad, gilding knife, heating element, finishing tools, (that we made on day 1), and a cotton pad.

 Brien was really great at demonstrating all the steps for this tooling technique – there were many but below is his abbreviated version:

 1.     Apply paste wash to leather

2.     Apply egg glair to leather

3.     Apply egg glair to leather again

4.     Thin layer of grease (like Vaseline)

5.     Lay down gold

6.     Tool

7.     Clear excess gold away

8.     Marvel at what you hath wrought, or cry out in despair.

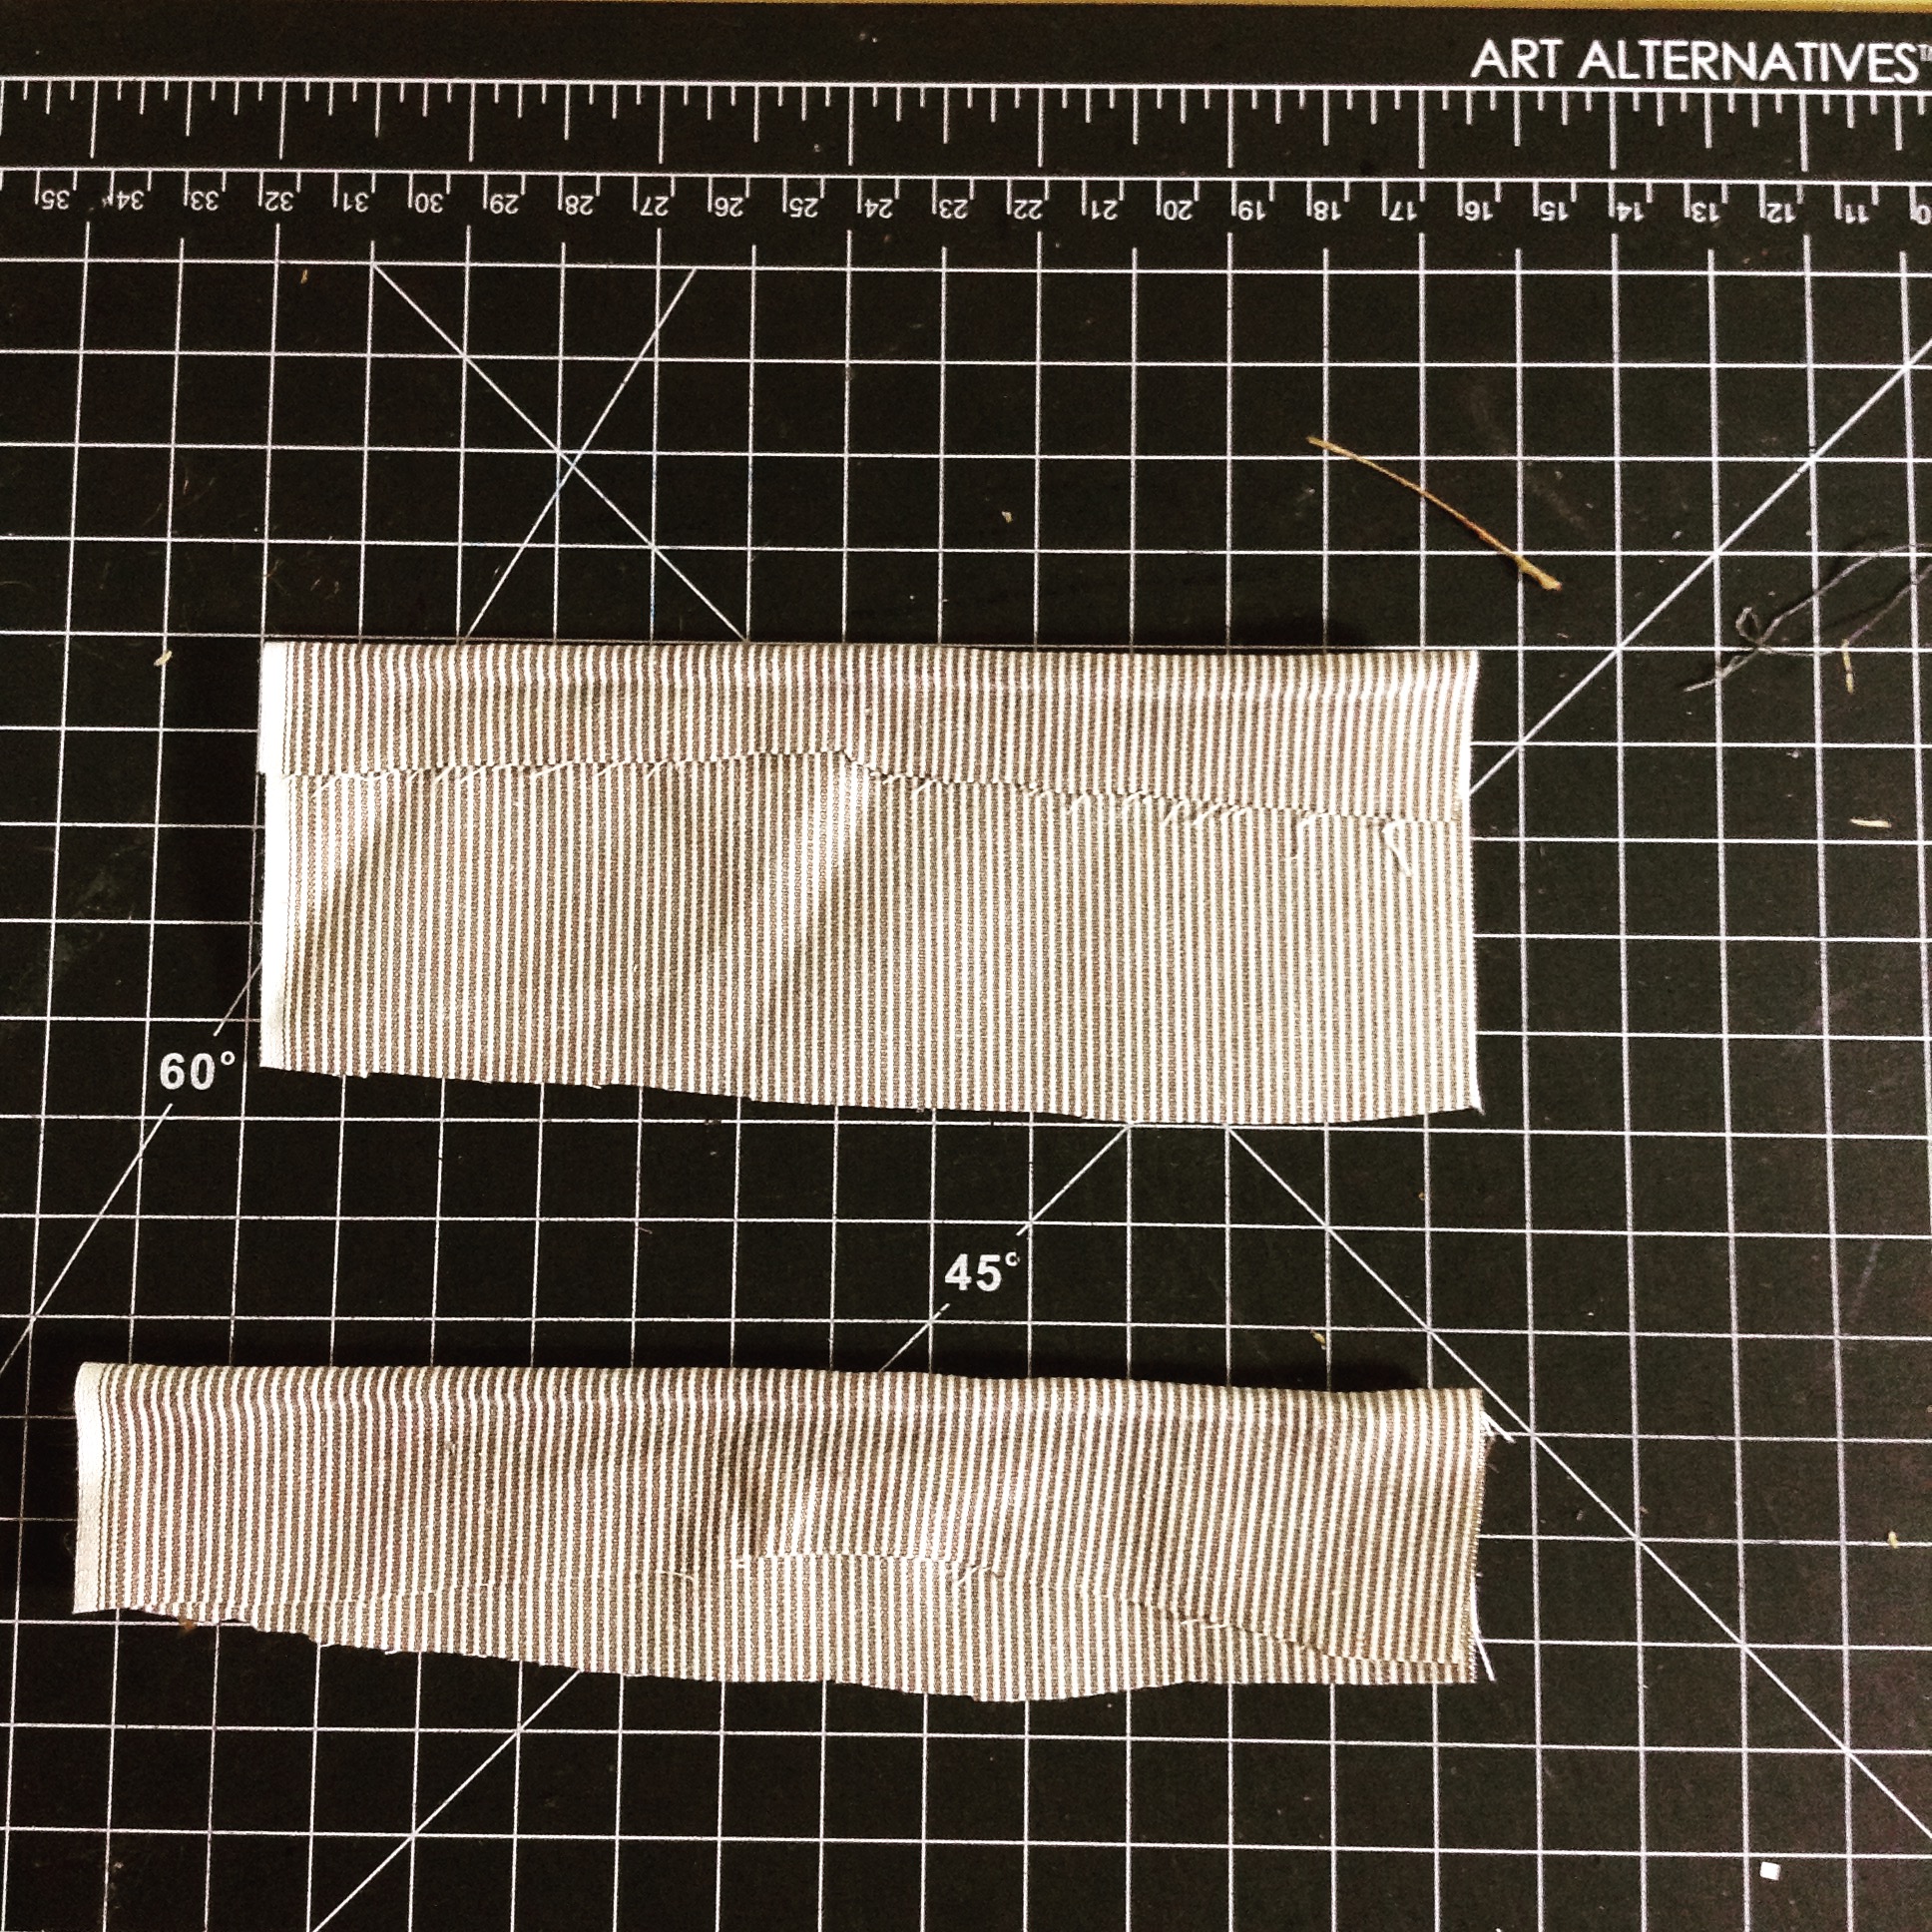
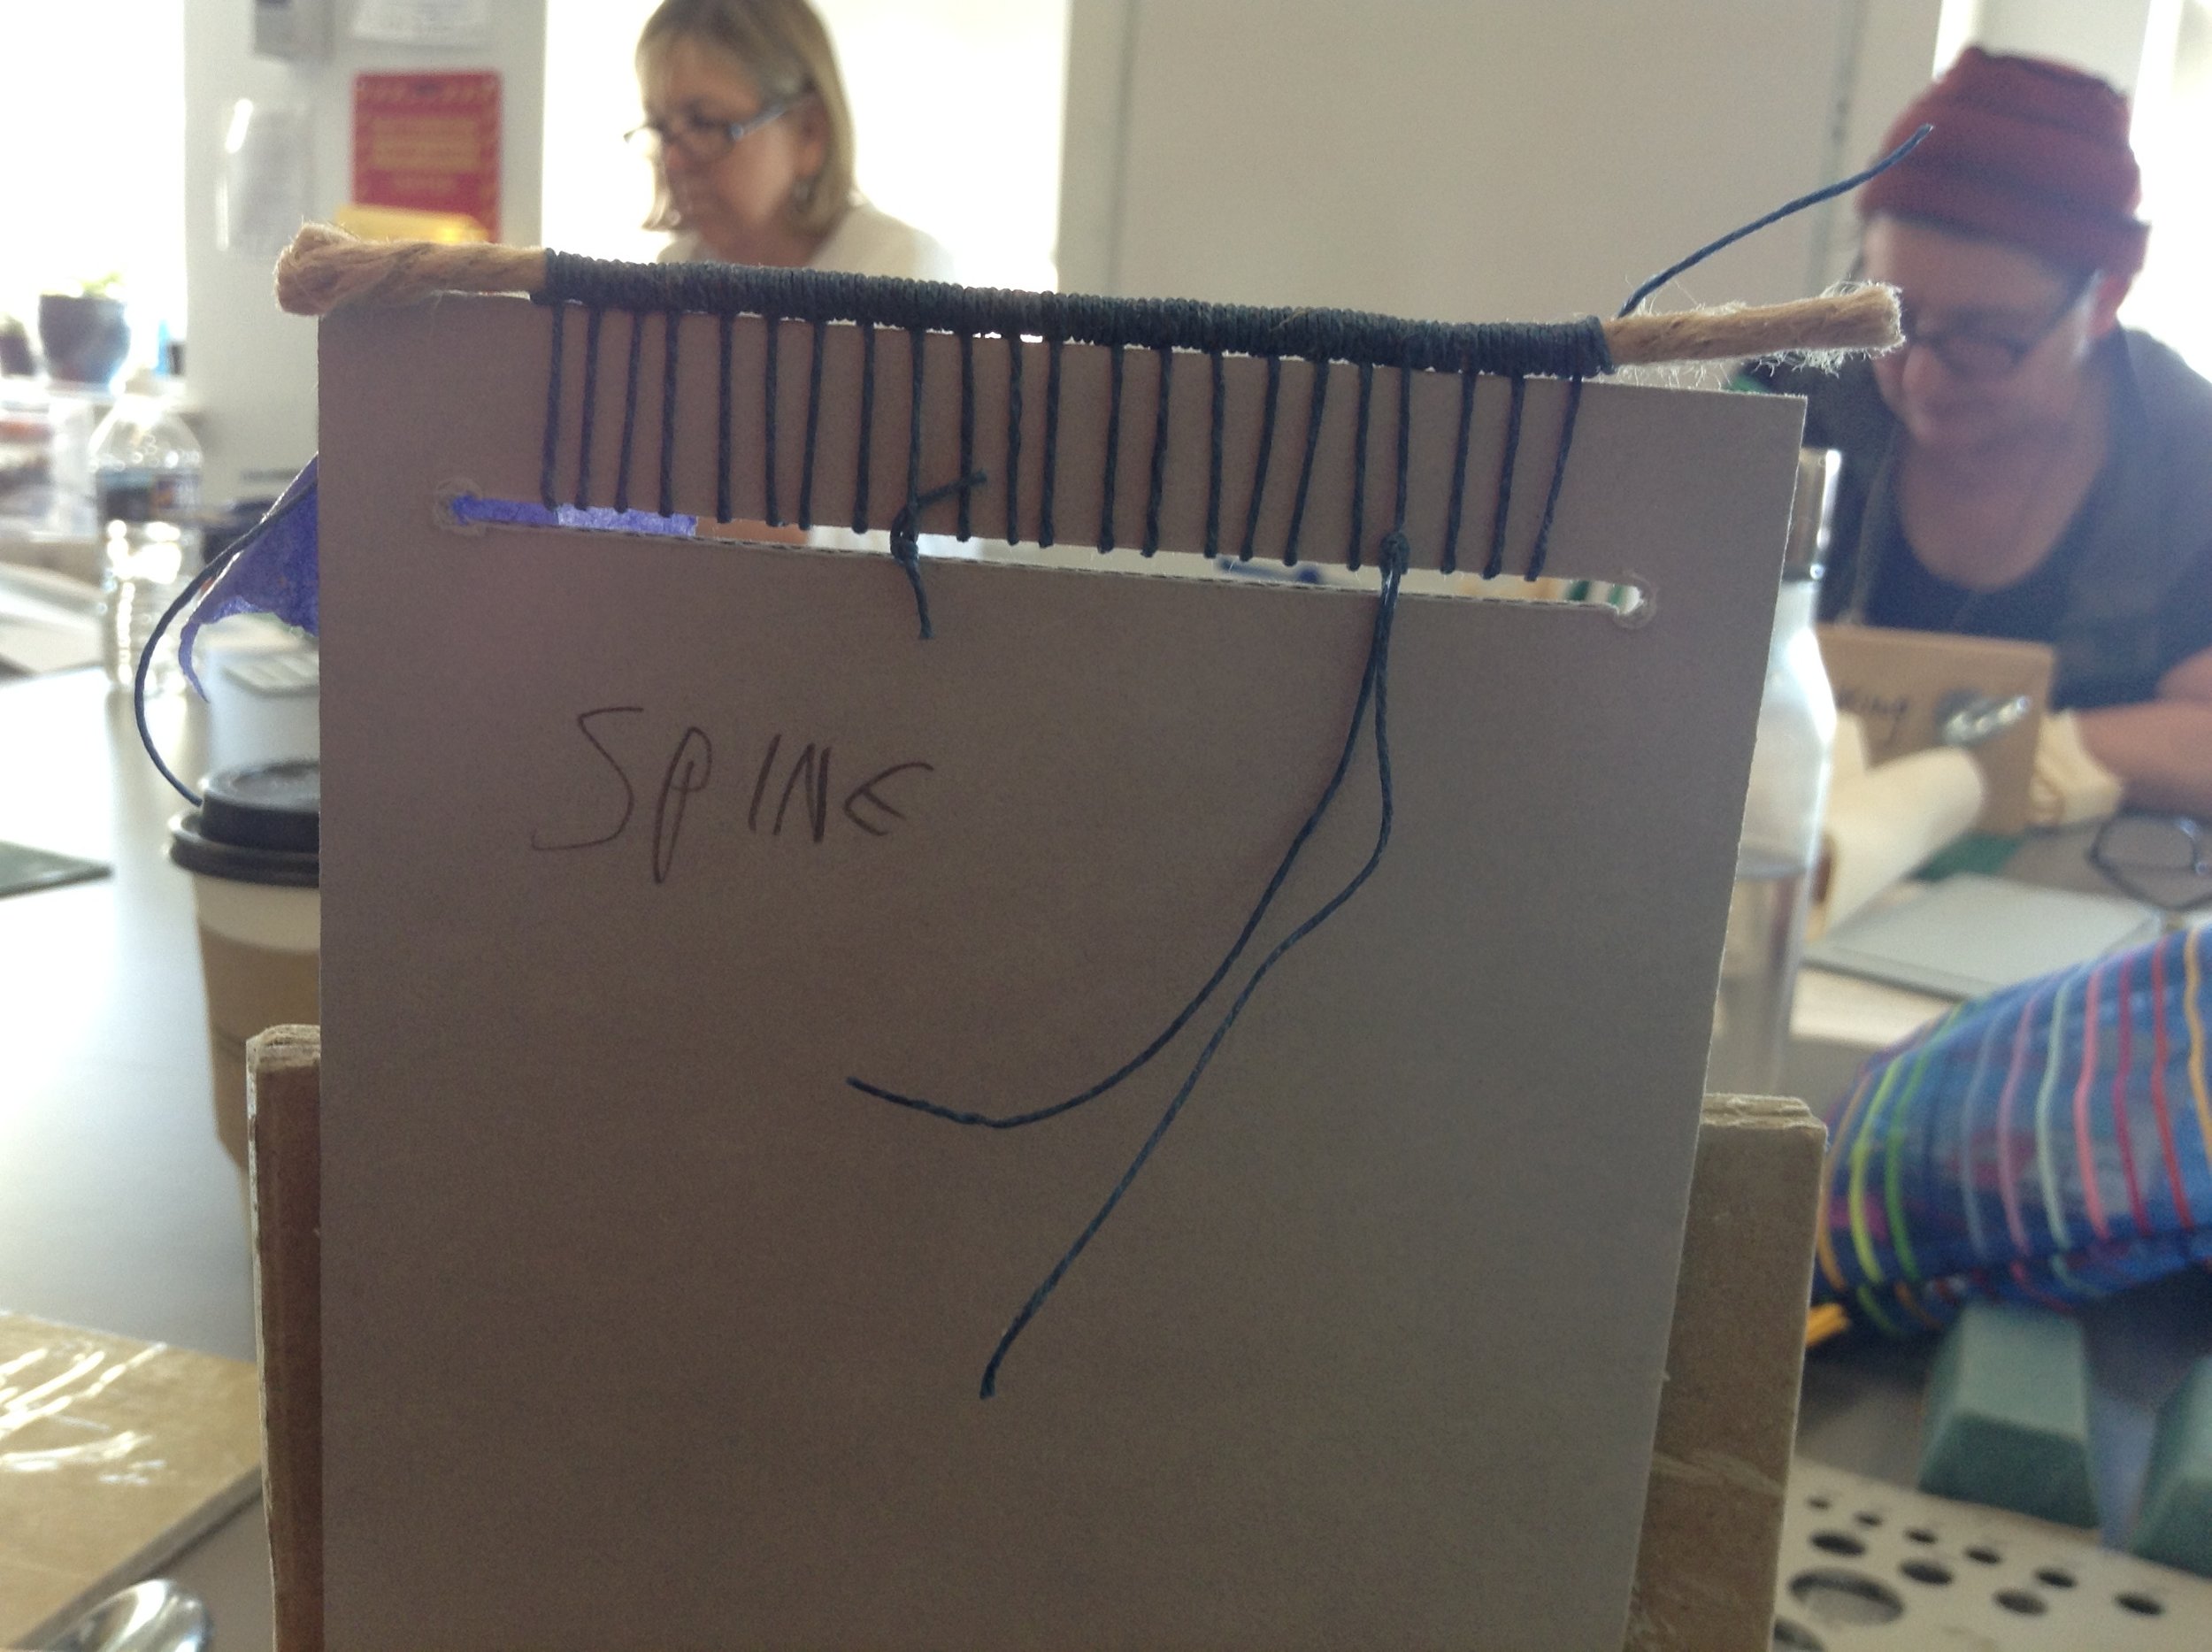
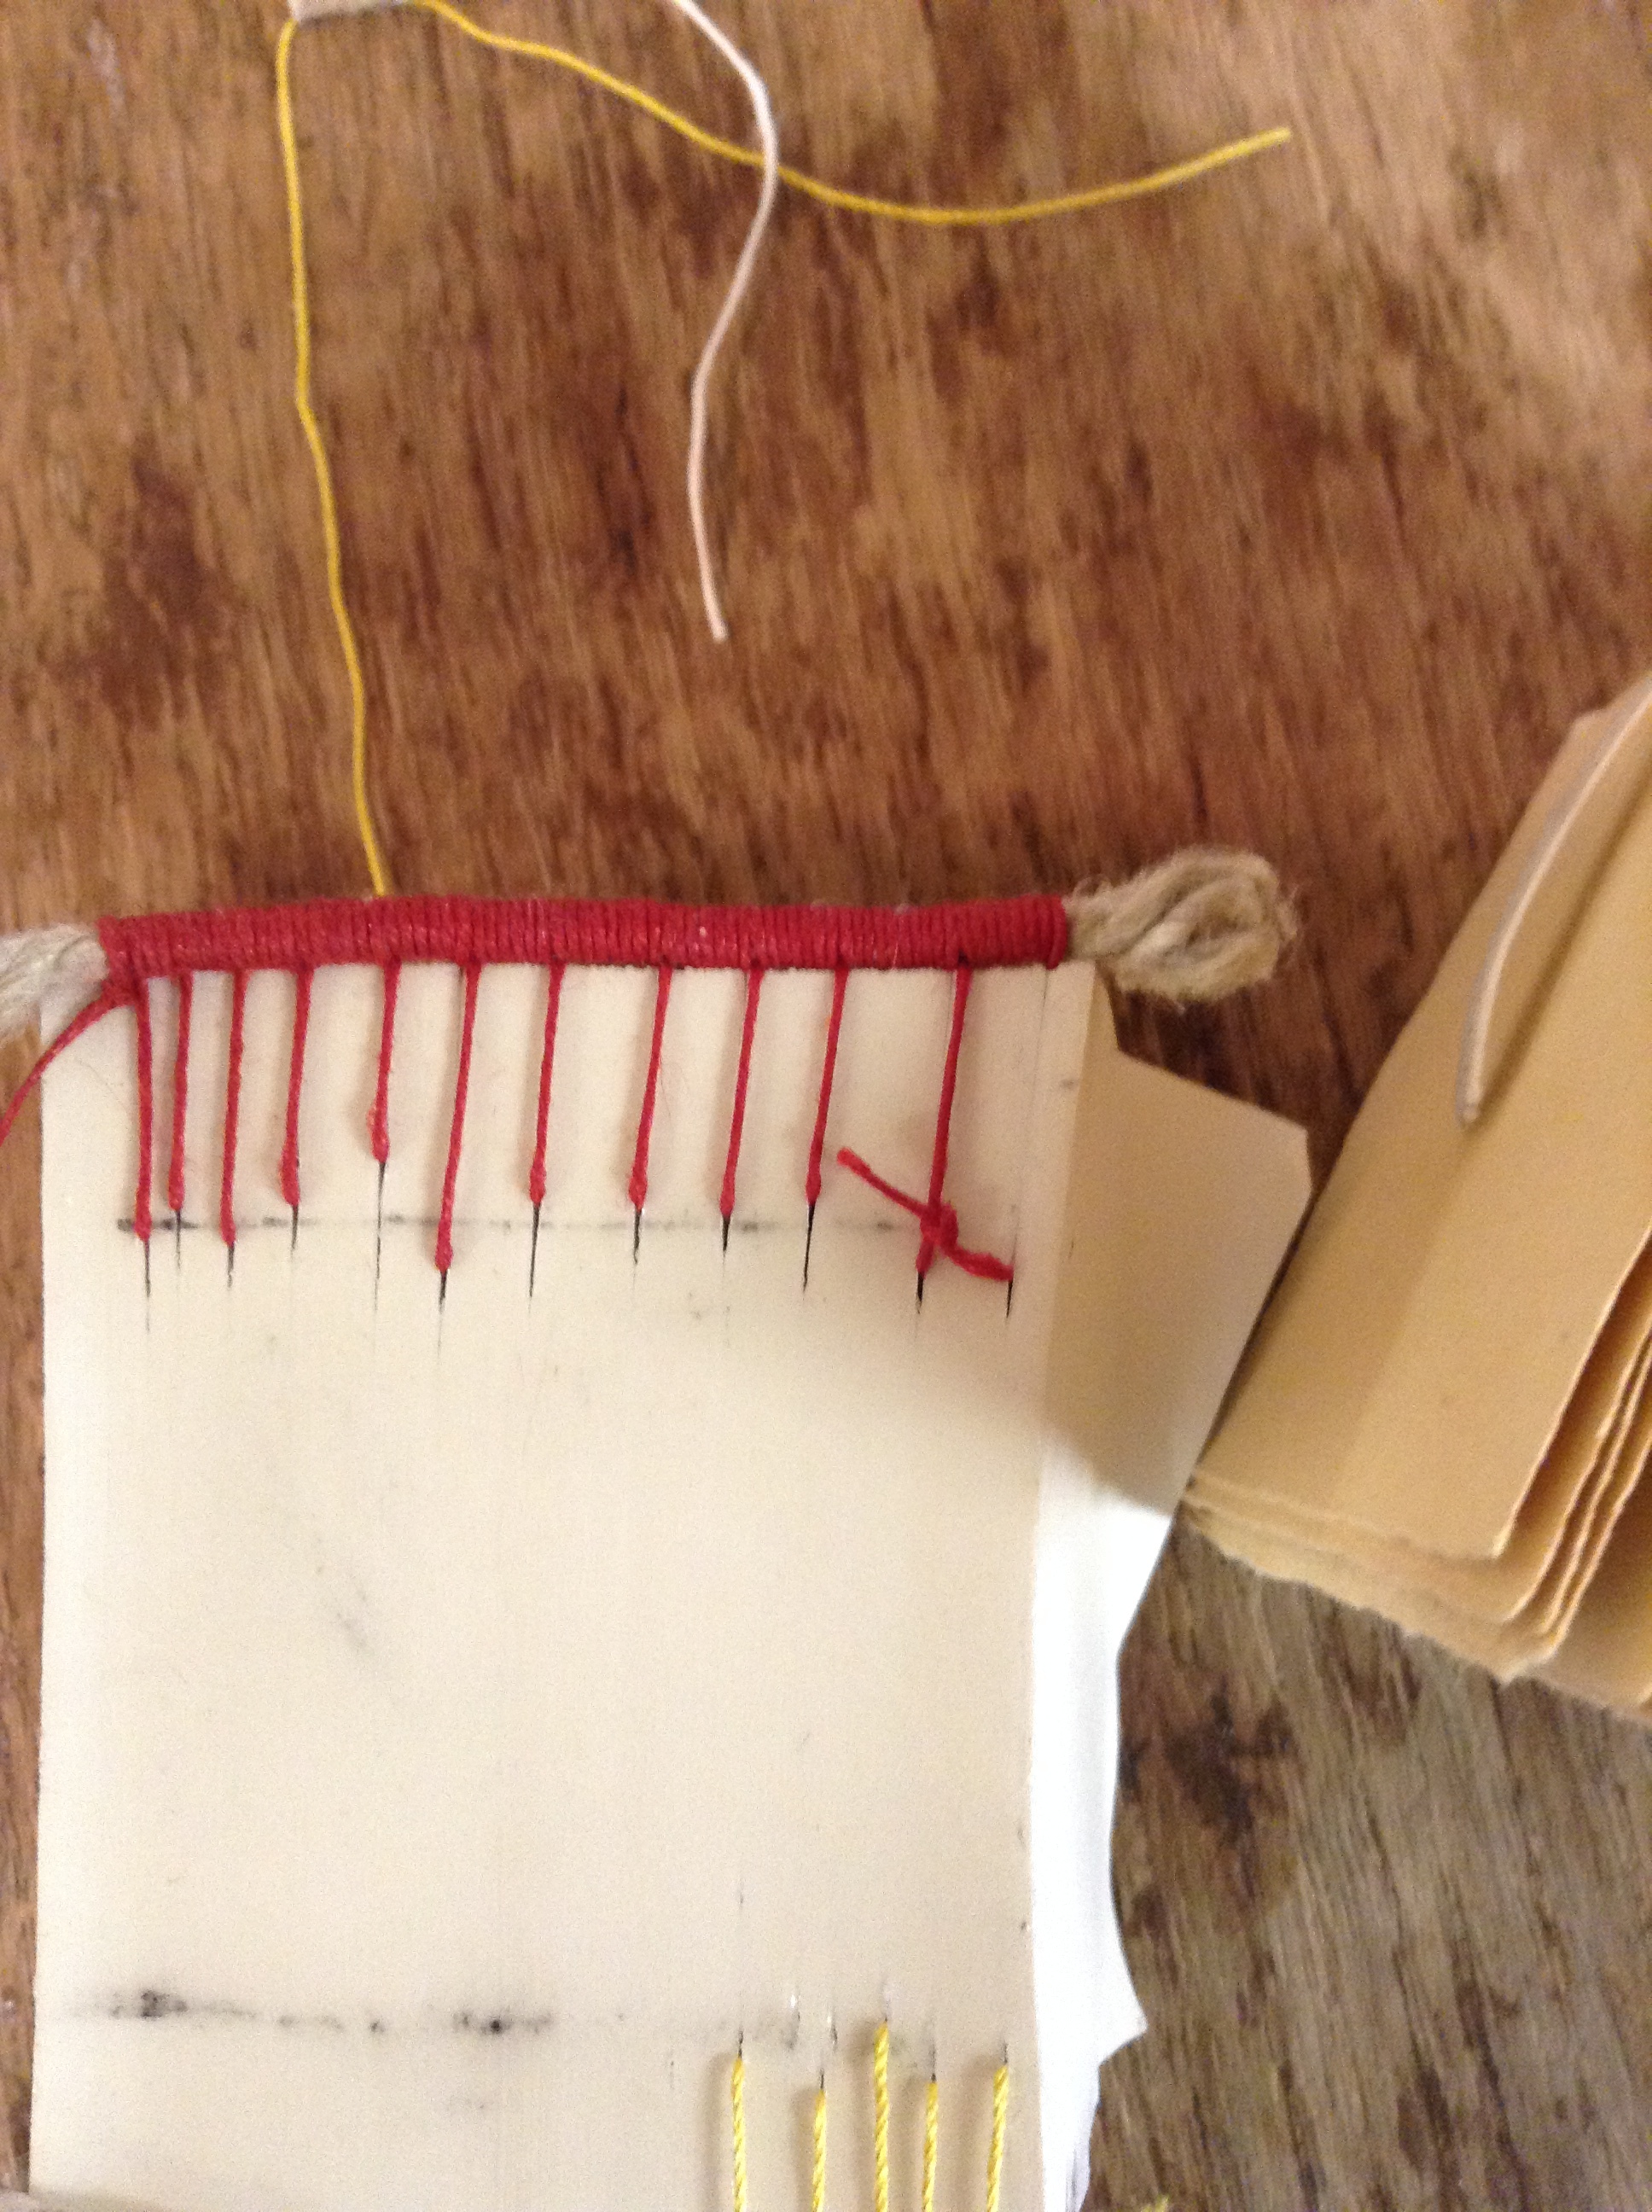
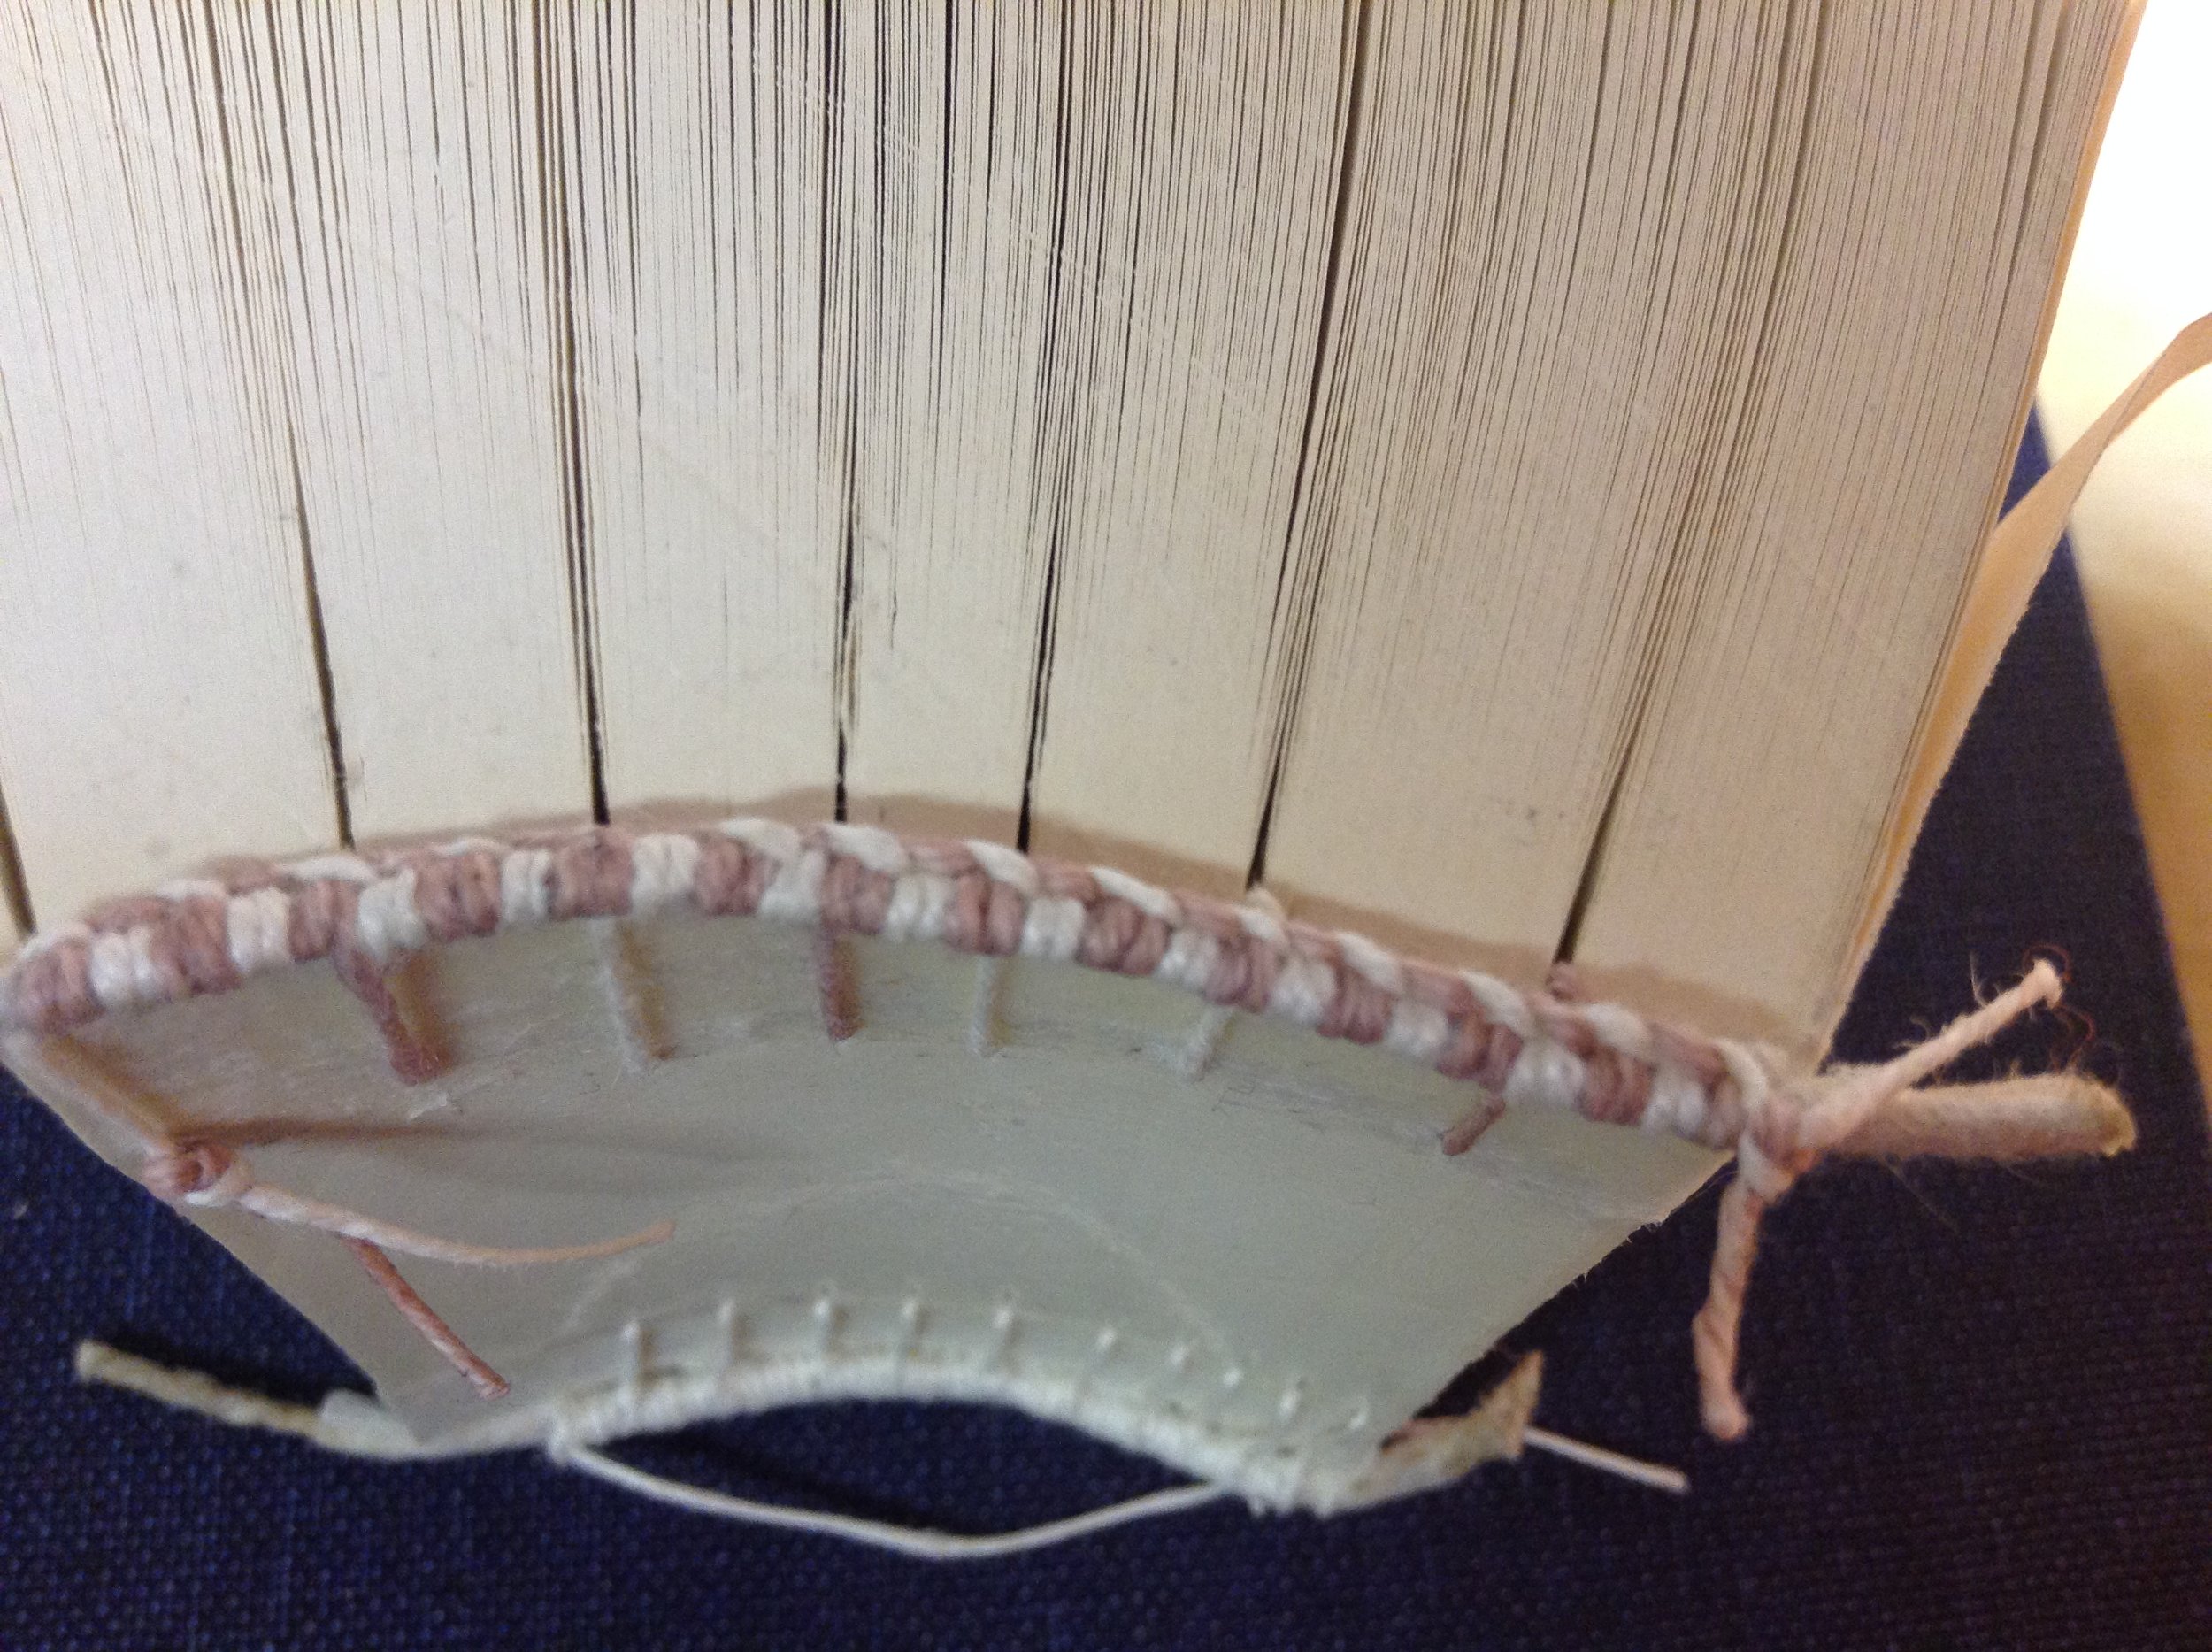
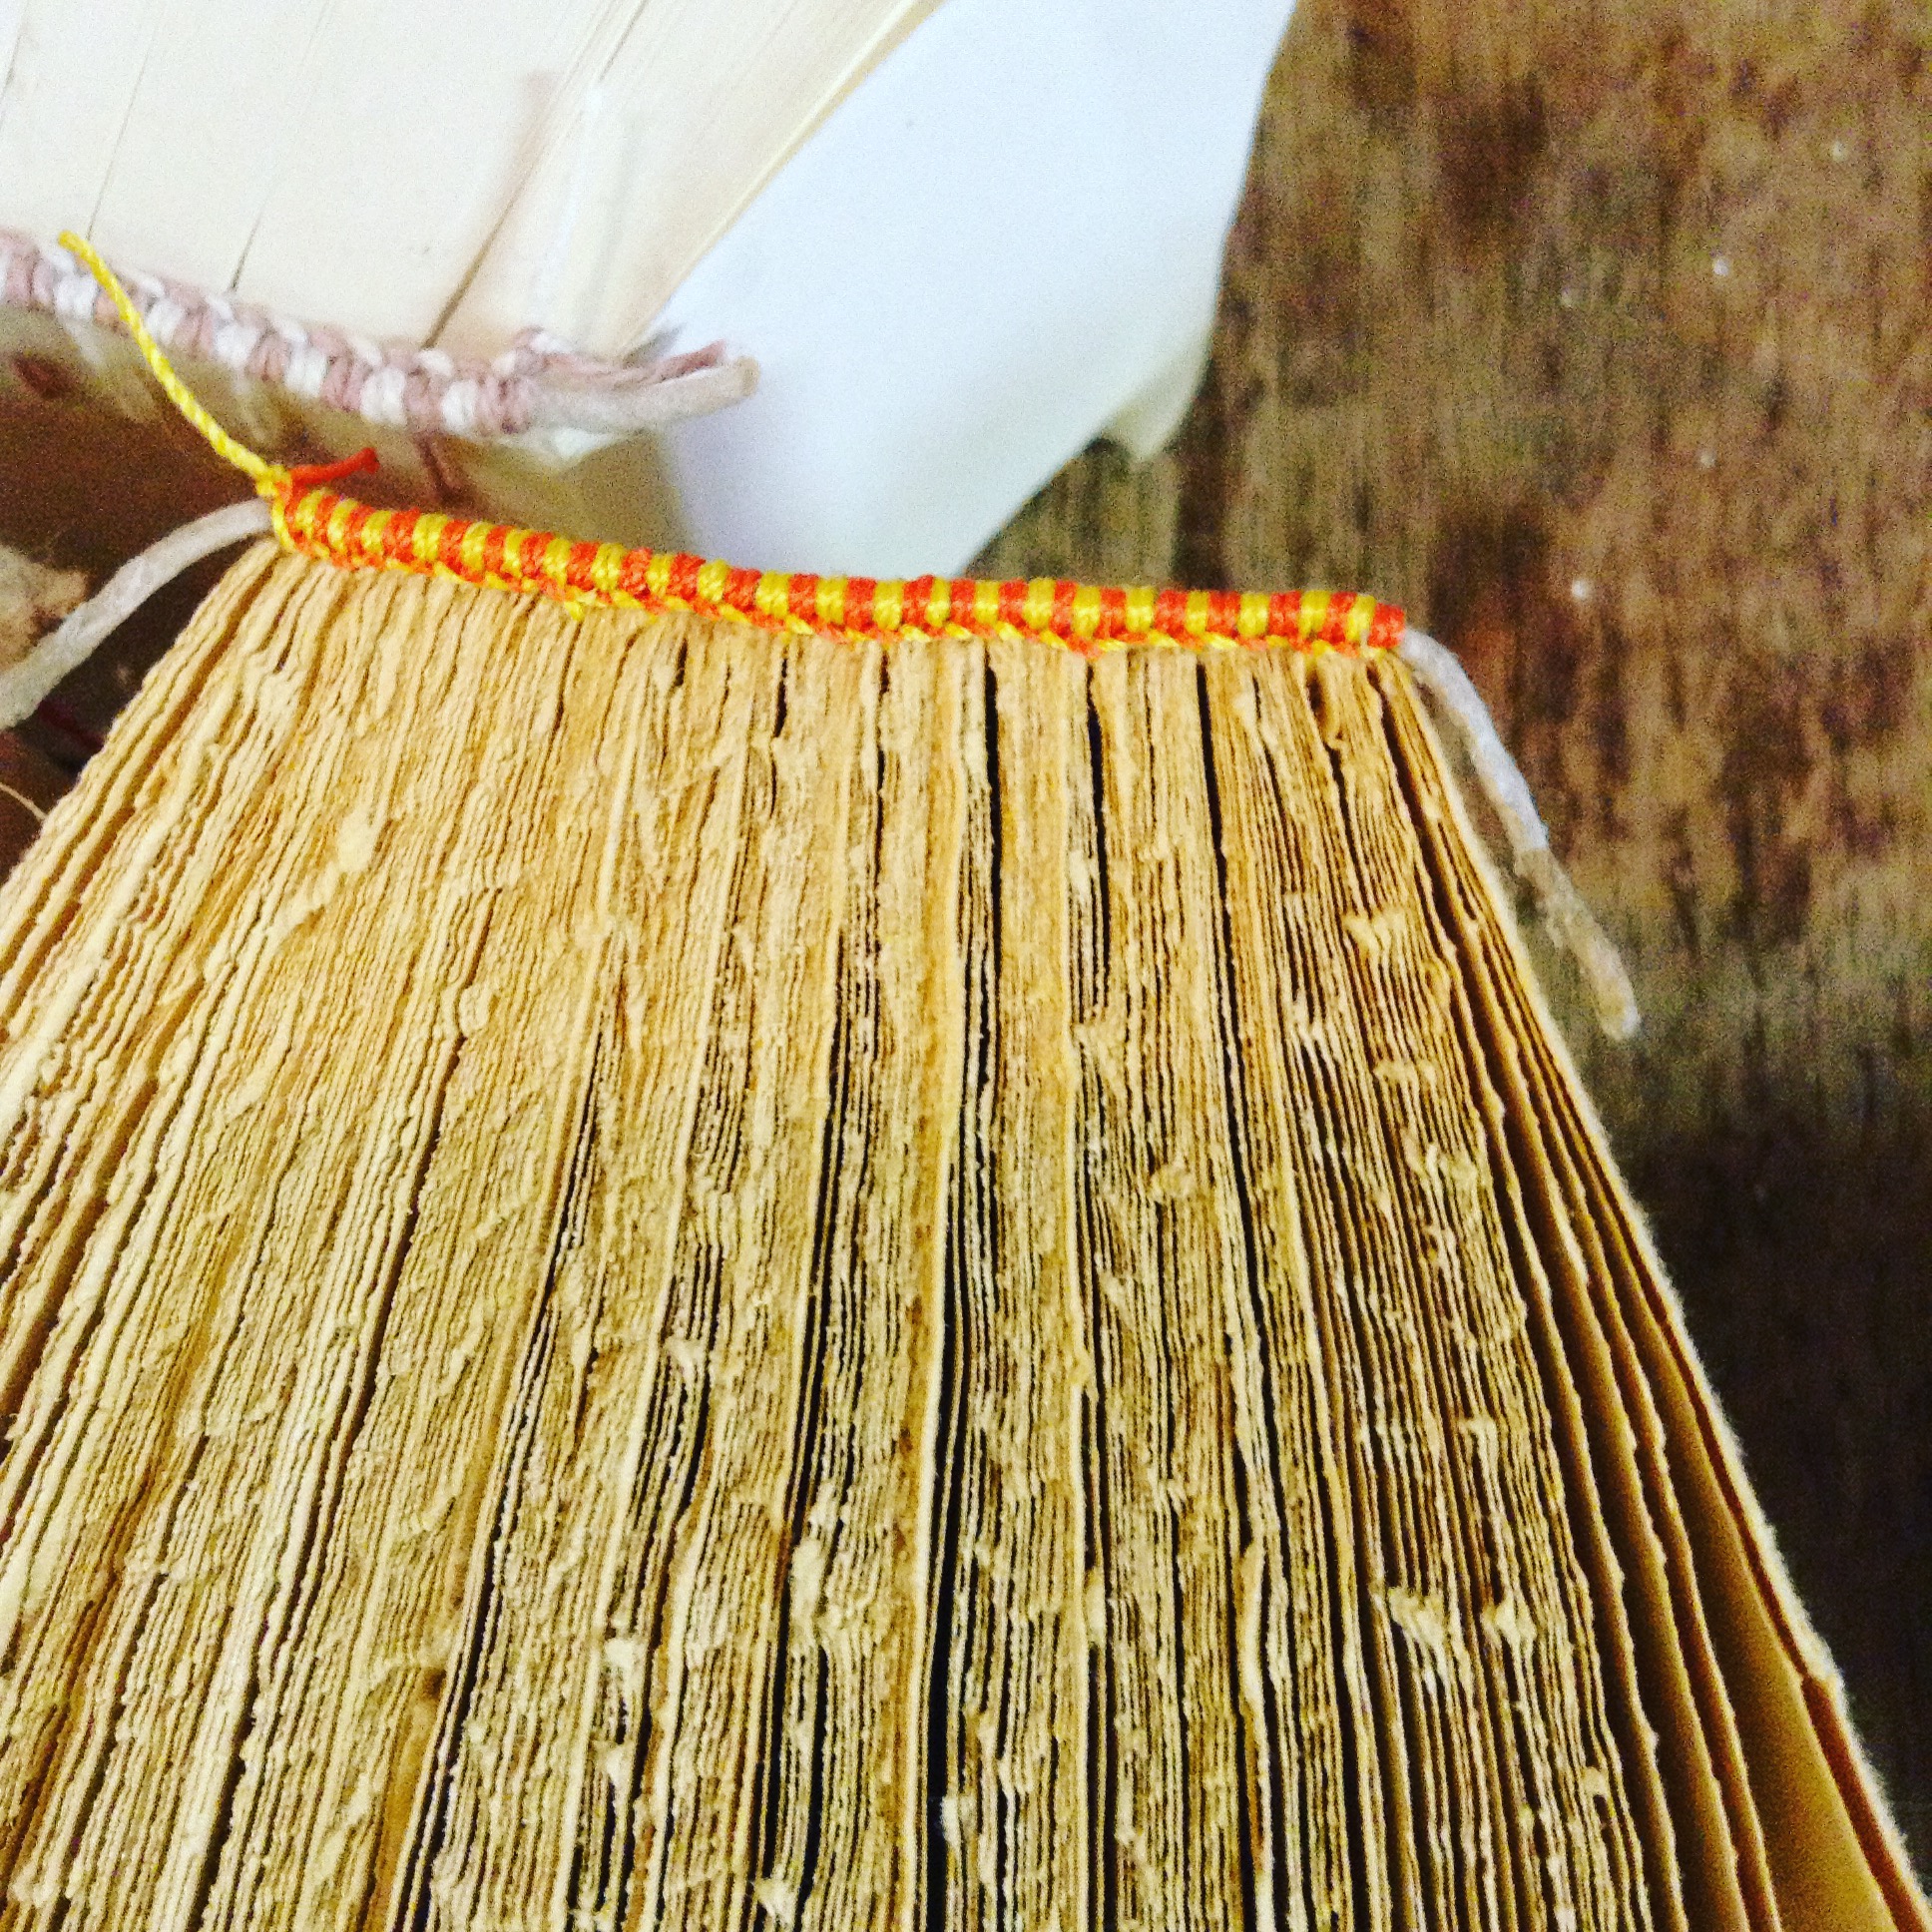
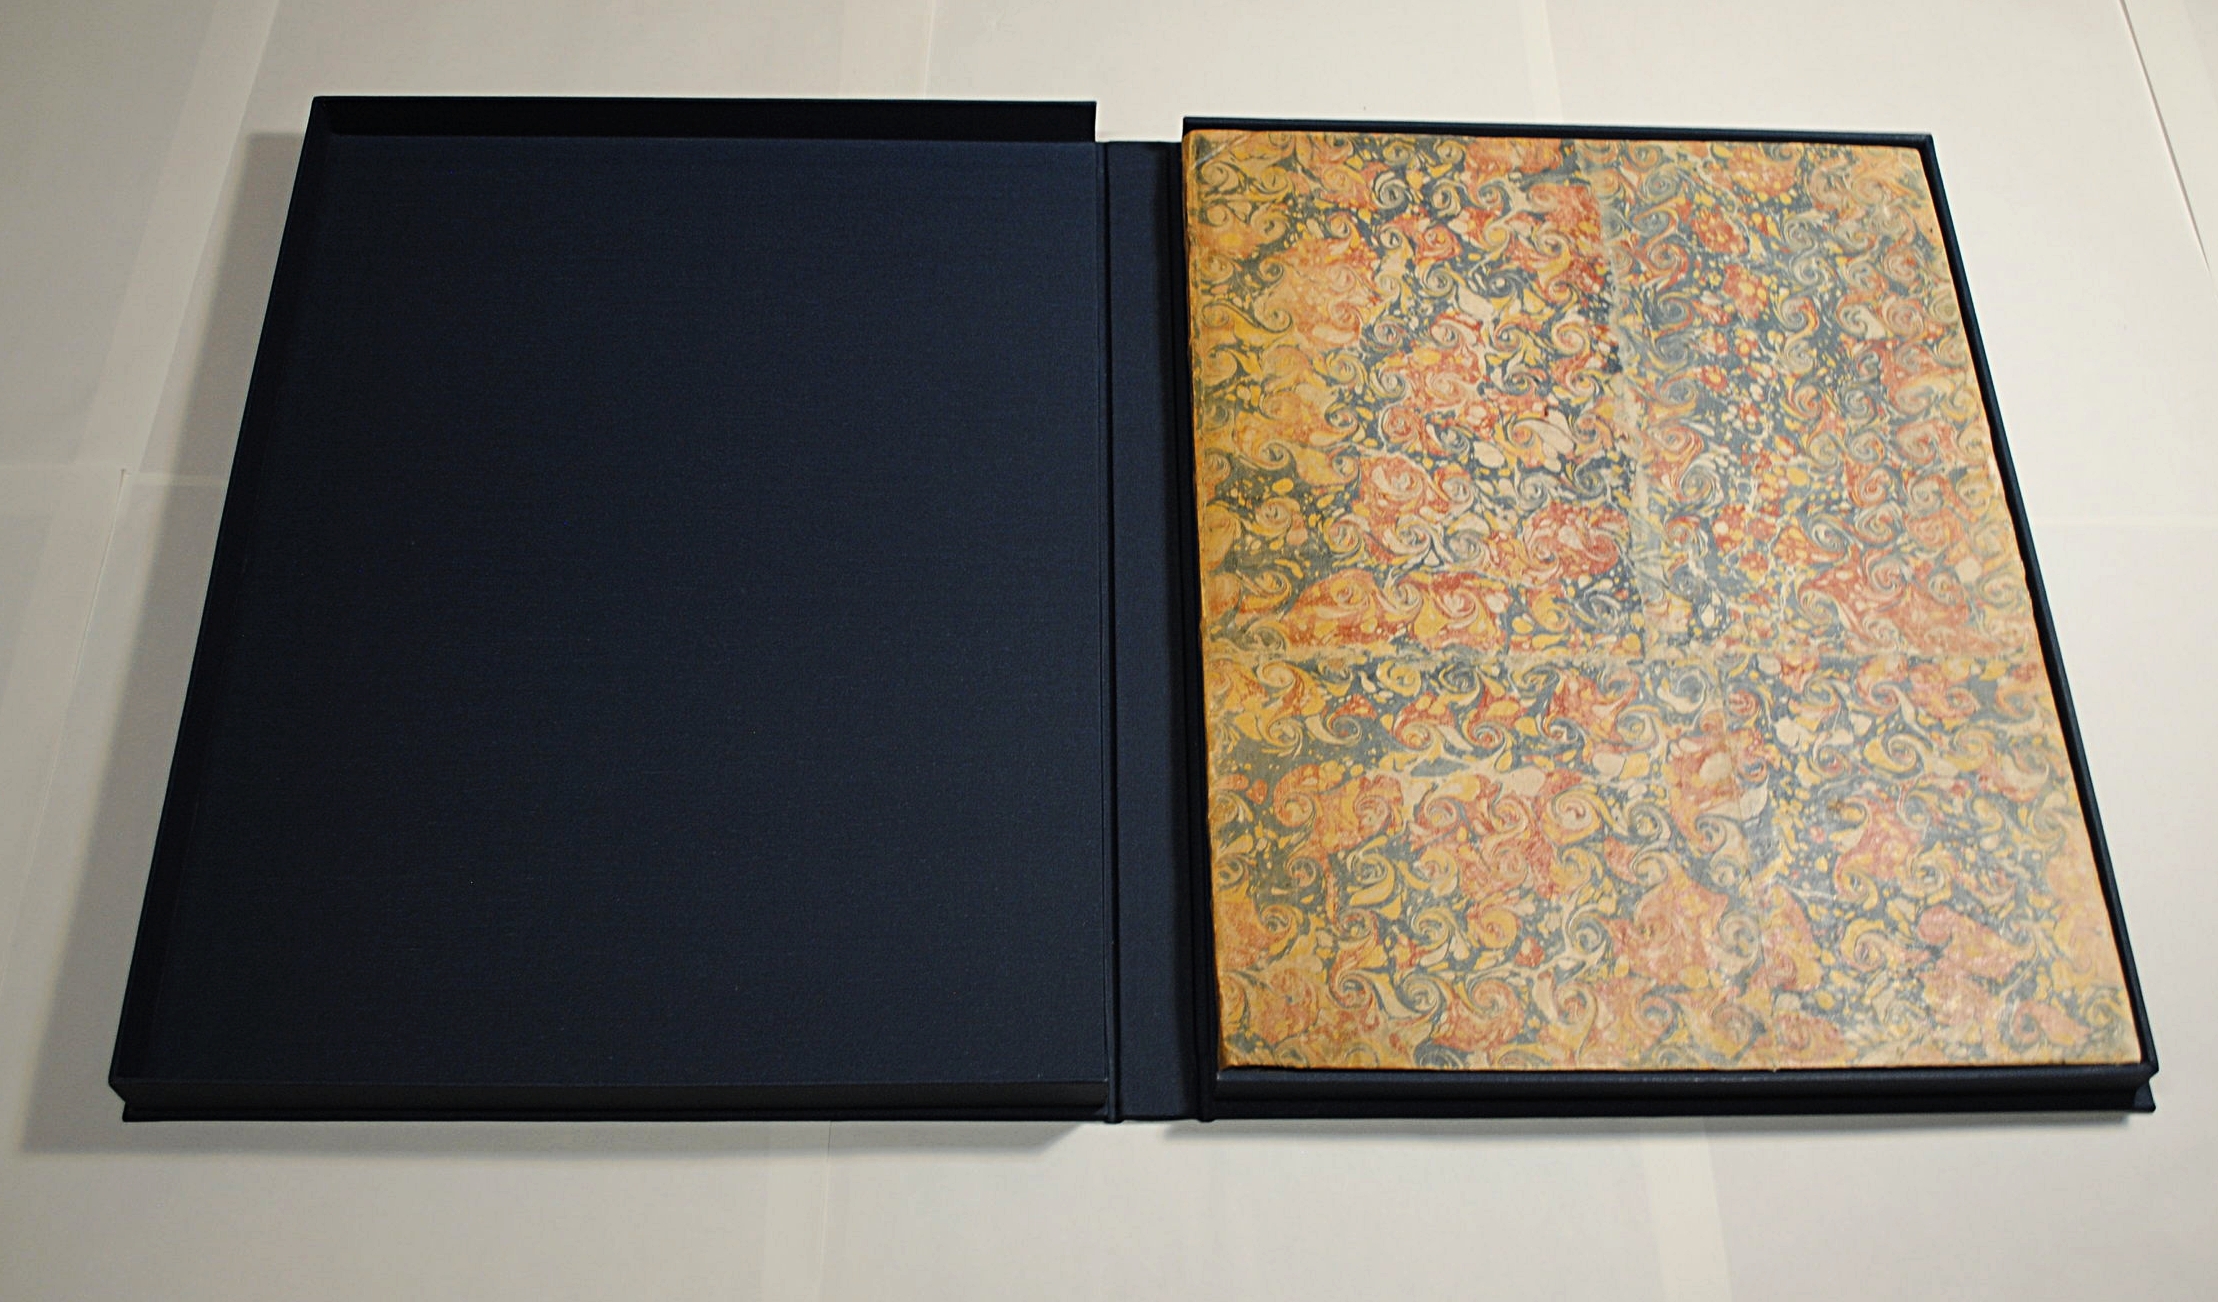
 Before tooling a leather spine, (that Brien has kindly prepared for us) the early part of the day was focusing on the prep (see notes above). Focusing on how to use these new materials and processes was key – Brien expressed the goal being ‘expediency and neatness’. On small scraps of leather we practiced using the gold leaf with our newly made tools.

 Brien showed us how to hold our tools correctly, practicing on blotter paper before doing the real thing. We tried on goatskin and calfskin – goatskin was easier to tool and gives a nice impression, however the calfskin is slippier, (easier to burn) but a quicker clean up. We all found that the temperature of our tool was key – Brien explained that you wanted to hear a slight hiss – too hot a tool would of course burn the leather. It is a constant balance of tool temperature, correct leather preparation and a steady hand. Brien also encouraged us to use some finishing wheels too – since we would be using these when gold tooling our spine. We all used a strip of blotter paper (the exact measurement of our leather spines) to sketch out our final design. Once we were happy with this we began the preparation of the spine and let the gold tooling commence. I must say – this was a little nerve wracking but we all gave it a go and there really were some spectacular and beautiful spine designs in our class. At the end of the class when we were all admiring our work, class participant Rebecca Gilbert aptly said,

 "Wow - I have a lot more sympathy for the gilders on some of those books we used to see in the stacks. We used to be so critical of them and the mistakes they made. Not anymore!"

 It is not easy to keep the wheels straight, the patterns spaced correctly, and have everything fit on the spine. But that also is the charm of the hand - made piece, and when you glance at the spines, they all look beautiful anyway.

 Lastly, we have Brien to thanks for his perseverance, humor, and passion for the tool making and gold tooling process. THANK YOU so much Brien!!!!

 If you want to know more about Brien and the work he does, view his website at  www.beidlermade.com. You can also follow him on Instagram @bhbeidler where he posts a lot of his work.

LONG THREAD, LAZY GIRL

If you read all the way through this blog post the title will become clear, or if you are familiar with bookbinding you can probably guess where i am going with this ...

As someone who runs their own small bookbinding and book restoration business I often put an end band onto the books that come into my studio. These generally consist of strips of fabric that are pre -made or if I am giving a large family bible a new set of end bands I will use striped fabric wrapped over peach board.

On hearing that the Delaware Valley Guild of Bookworkers would be running a workshop, (University of the Arts, Philadelphia) that explored the sewn on end band I signed up to the class right away. It is all well and good pasting a piece of fabric onto the head and tail of a book but sometimes a client may want something a little more special. 

The workshop was a one day class taught by Tara O'Brien, (Head of Conservation at The Historical Society of Pennsylvania). Tara was an excellent teacher and made the skill of learning to sew on end bands easy to understand. The goal of the class was to learn three basic end bands - a simple wound end band (one color), a conservation end band (one color), and a headband with a bead on the front (two colors). Tara often referred to the book, 'Headbands and How To Work Them, (by Jane Greenfield and Jenny Hille) throughout the class which is a step by step guide on how to create 14 different headbands.

You might have noticed that I have used the words 'end band' and 'head band' - these terms are interchangeable and amount to the same thing, a decorative element that sits on the head and tail of the spine adding protection and some aesthetic sensibility. As I mentioned before I have used glued on headbands since I started bookbinding, you will see this on a lot of hardbound commercially produced books, however this is not a new invention and can be traced back to the 1800's. Yet the sewn on end band is more versatile and stronger since it is sewn into the spine of the book.

In order to get the hang of the different types of headbands Tara demonstrated on a sewing card, which was made from corrugated acid free board. We cut a 1/2" slot on one end of the card, and labelled one side "spine" and the other "fore edge" so not to get confused.

As you can see we use a piece of cord to make the headband and to begin we used waxed linen thread, it is much easier to use when learning this process. Once we had finished our cards Tara then demonstrated on a perfect bound text block - using the same approach but on the book rather than the card. Here is the version I made, you will see that the anchoring point is supposed to land just beyond the kettle stitch, (or in this case on the pencil line) - however mine is a bit of a jumble, sometimes landing before, after and on the imaginary kettle stitch line, yet not too bad for a first try.

In the afternoon we then all took a stab at creating a conservation end band, this particular end band features a little bead in the process. It looks like a little pearl on the outside of the spine and would usually be done in a white linen thread.  Tara also showed us a trick that aided in keeping the cord straight against the book rather than it flopping around while trying to sew the headband to the book. One way to do this is to pin it but then there is the danger of pricking oneself - the foolproof method is to take your cord and cover it in Japanese tissue paper using PVA glue and then adhered it to the spine - this enables the cord to be attached nicely to the spine and then you can begin sewing.

Conservation Headband with beading on the back.

Conservation Headband with beading on the back.

For the final headband of the class, Tara demonstrated the headband with two colors where the bead sits at the front. This was without a doubt the trickiest of all the headbands to learn but definitely the most satisfying. I first practiced on the perfect bound text block using linen waxed threads and then for the silk threads I used a text block with sewn signatures that I had prepared before class. The silk threads are a little more difficult to handle but after some time, patience and practice it becomes easier. 

Note to self, Langes Fädchen, faules Mädchen, translated to Long thread, Lazy girl. I am sure many in the bookbinding community are familiar with the translation of this German proverb.  I had heard this term in a bookbinding class I took around 6 years ago and Tara mentioned it again during class this weekend. It is tempting to thread a lot on your needle however it is inevitable that with too much thread knots occur and you have to start the whole thing again.

Overall this was a very enjoyable class and I hope to use some of the methods I learned in the work of my clients or even on some of my own artist books. Below a photo of the group's work in the class.

Group Photo

Group Photo

Flaps and Folios

While in my last post I mentioned that I would be continuing to write about the board shear - I also really wanted to write about a recent restoration job while it is still fresh in my mind. 'Tools of the Trade' will have to wait a few more weeks so I can gather more information. Time has become much more precious since a small human entered our lives 5 months ago and if i don't document my most recent work then it will be forgotten.

I was recently contracted to repair two books in the collection of a local museum. The first English Lake Scenery with colored plates with drawings by A.F. Lydon was a beautiful book however the binding was loose at the front hinge and all four corners of the books were curling as seen below. 

To stabilize this book I installed a hollow tube on the spine area, the head and tail of the spine were also given new head bands, and a new inner front hinge for the book was created. The corners of the book were repaired with a wheat paste glue and Japanese tissue paper, this same method of repair was carried out at the head and tail of the spine. The book itself also required an enclosure to keep it protected for years to come. The client wanted a four flap enclosure so I came up with a design that would work specifically for the size and look of this book. Here are some process photographs showing how I got to the final four flap enclosure.

The second book that required repair work for this project was a large folio by designer L'amour Jean, 1698 -1771 which bound beautiful architectural engravings by Colin, Dominique. As you will see from photos below the spine was in a dreadful state and many of the pages inside needed attention.

To begin repairing this folio the inner spine was initially stabilized using Kozo (Japanese tissue paper) this is a strong paper and a very close match in terms of color to the rag paper of the pages. The outer spine was pieced back together using Seikishu Japanese paper with a wheat paste glue.  The outer spine then underwent a color treatment restoration, my approach for this was to discreetly match the spine with that of the marbling pattern seen on the cover boards. I did this using acrylic paint and some water color pencil. The bottom left hand corner of the back board was severely damaged, (however was salvageable) I was able to inject wheat paste into the corner of the board with a hypodermic needle - I then sandwiched the corner flat between two boards and let it dry overnight. When I went to take a look the next morning the corner had hardened and no longer presented signs of falling off. I did some final repairs to this with Seikishu Japanese paper, as well as some color restoration. Many of the hinge areas inside the book needed repairing so like the inner hinge at the front of the book I repaired them using the Kozo paper. On some of the plates there were large fold out pages, the folds on the latter were showing signs of wear and tear. To repair the fold I used Tengujo Japanese tissue paper, this is a very thin paper but durable and perfect for this type of repair.

To finish,  this folio was to have a custom made double wall clamshell box to store it. I made this using an Indigo Blue book cloth which picked up some of the blue that can be seen in the covers of the book. Final photos below. The measurement of this folio was 18" x 24".

TOOLS OF THE TRADE - Elbert the Board Shear

Welcome to this blog series named Tools of the Trade. Like many trades, bookbinding/ restoration has a plethora of tools, which one can really get sucked into. The biggest purchase to date for my bookbinding studio has been 'Elbert' the Board Shear (also known as a board chopper, board cutter). Its main function is to cut binder board, a material often used to make the covers of a book. Before purchasing this beast of a machine I did struggle to cut binder board by hand, this often ended in a cut finger or two and a board that wasn't square.

Board shears by their very nature are very heavy (and from trawling through different sales on the internet- I found to be very expensive). They vary in price from $1,500-$5000. Even on the low end of the price scale this was going to be difficult for my budget. I considered buying a Kutrimmer, (a lot cheaper) which is designed to cut paper, although can be used to cut board - however from experience the board is never quite square and the cut never quite exact.

Kutrimmer

Kutrimmer

So after looking for one of these machines for over a year I finally saw an ad on Craig's List advertising a 'Paper Cutter' for sale. The photo listing the item was almost non existent and I think it had been advertised on Craig's List for at least two months so I almost didn't call the guy who was selling it as I thought it would be long gone.  To my surprise it was still available and located right here in Philadelphia, plus the list price was $500!!!!!  I was searching for this equipment all down the East Coast, however shipping costs almost equaled the cost of the machine. I went to take a look - it had been in someone's basement for at least 20 years and the current owner had it stored in his garage (after rescuing it from the basement). He wanted to get rid of it and was quite happy to deliver it to my studio for an extra $100. It was a John Jacques cast iron 40" blade with wooden top, and looked like it had seen better days.  However, the blade itself cut like a dream, so I bought it.


As you can probably see from the photos this machine needed ALOT of elbow grease. The blade was pretty rusty, (although just surface rust) so I used wet and dry sanding paper to take off the rust and to my surprise it worked and the blade has a nice silver polish to it. The shear had a wooden top so I sanded that down and treated it with varnish. I painted the cast iron parts of the board shear with a black enamel and per a friend's suggestion I painted the counter weight a bright cherry red - which made it really pop. On the original black cast iron there were some traces of gold decoration so I paid a local sign writer to re-paint this gold decoration on top of the black enamel. I wanted to keep a lot of the original features - or at least bring them back to life. I did have to buy a new back gauge which keeps the board straight while measuring the piece of binder board but this was a worthwhile investment. Whenever I chop a piece of binder board it is now always the exact measurement I want - down to the millimeter.

Oh - and I named the board shear 'Elbert' because the guy I bought it from was called Elbert (quite an unusual name I thought).

In my next post I'll talk about other board shears, their histories and functions.

Marbling Workshop with Chena River Marblers

On a chilly January weekend The Delaware Valley Chapter of The Guild of Bookworkers hosted a fabulous 2 day workshop with Chena River Marblers at University of the Arts in Philadelphia. Regina and Dan St. John drove all the way from Amherst in Massachusetts in their van stuffed with marbling equipment and supplies. The previous two days they had ran a marbling workshop at Tyler School of Art, Temple University. 

Regina and Dan have been marbling paper/ fabric - (you name it) for the last 30 years. Their span of knowledge and expertise is quite impressive, along with their generosity and enthusiasm for the art form and technique. Over the 2 day workshop we created around 25 different sheets of paper marbling, (experimenting with different patterns, and trying out the different tools that make the patterns). We also made a journal with a marbled leather binding too!